Halloween is the season of spooky treats, haunted houses, and desserts that look as scary as they are delicious. If you’re searching for the ultimate show-stopping dessert to wow your guests, a Graveyard Cake is the way to go. This creepy confection is fun to make, surprisingly simple, and can be customized with tombstones, ghosts, skeletons, or even a haunted house scene. Whether you’re hosting a Halloween bash, planning a horror movie night, or just want a fun baking project, this recipe is guaranteed to deliver both chills and thrills.
In this guide, you’ll learn step-by-step how to bake and decorate the perfect Graveyard Cake, along with tips for making it look extra spooky. We’ll cover essential ingredients, creative decoration ideas, and storage hacks to keep your cake fresh for parties. Along the way, we’ll also explore fun variations like tombstone cake, cemetery cake, and graveyard brownies so you can get inspired with other spooky cake ideas.
For mor recipes cake follow me in Facebook
Why Graveyard Cake Is the Ultimate Fall Dessert
Fall desserts are all about cozy flavors warm spices, rich chocolate, and comforting textures but Halloween adds a twist: presentation. A graveyard cake is the ultimate October bake because it blends the best of both worlds: indulgent chocolate flavor and a chillingly creative design.
Unlike a plain chocolate cake, a graveyard cake comes alive with cookie tombstones, “dirt” made from crushed Oreos, and edible ghosts or skeleton hands peeking out of the ground. It’s interactive, it’s creepy, and it’s fun to decorate with kids or friends.
Other desserts like pumpkin pie or apple crisp may say “fall,” but a graveyard cake screams Halloween party centerpiece. Plus, it pairs perfectly with other spooky desserts like a coffin cake, haunted house cake, or even gothic birthday cakes for those who want to celebrate with a horror-themed twist.
Essential Ingredients for a Graveyard Cake
While there are endless ways to design your graveyard cake, the base usually starts with a rich chocolate cake and easy-to-find toppings. Here’s what you’ll need:
For the Cake
- 2 cups all-purpose flour
- 2 cups granulated sugar
- ¾ cup unsweetened cocoa powder
- 2 teaspoons baking powder
- 1½ teaspoons baking soda
- 1 teaspoon salt
- 1 cup buttermilk (or substitute with milk + vinegar)
- ½ cup vegetable oil
- 2 large eggs
- 2 teaspoons vanilla extract
- 1 cup hot water or hot coffee (for extra flavor)
For the Frosting
- 1 cup unsalted butter, softened
- 3½ cups powdered sugar
- ½ cup unsweetened cocoa powder
- ¼ cup heavy cream (more as needed)
- 2 teaspoons vanilla extract
- Pinch of salt
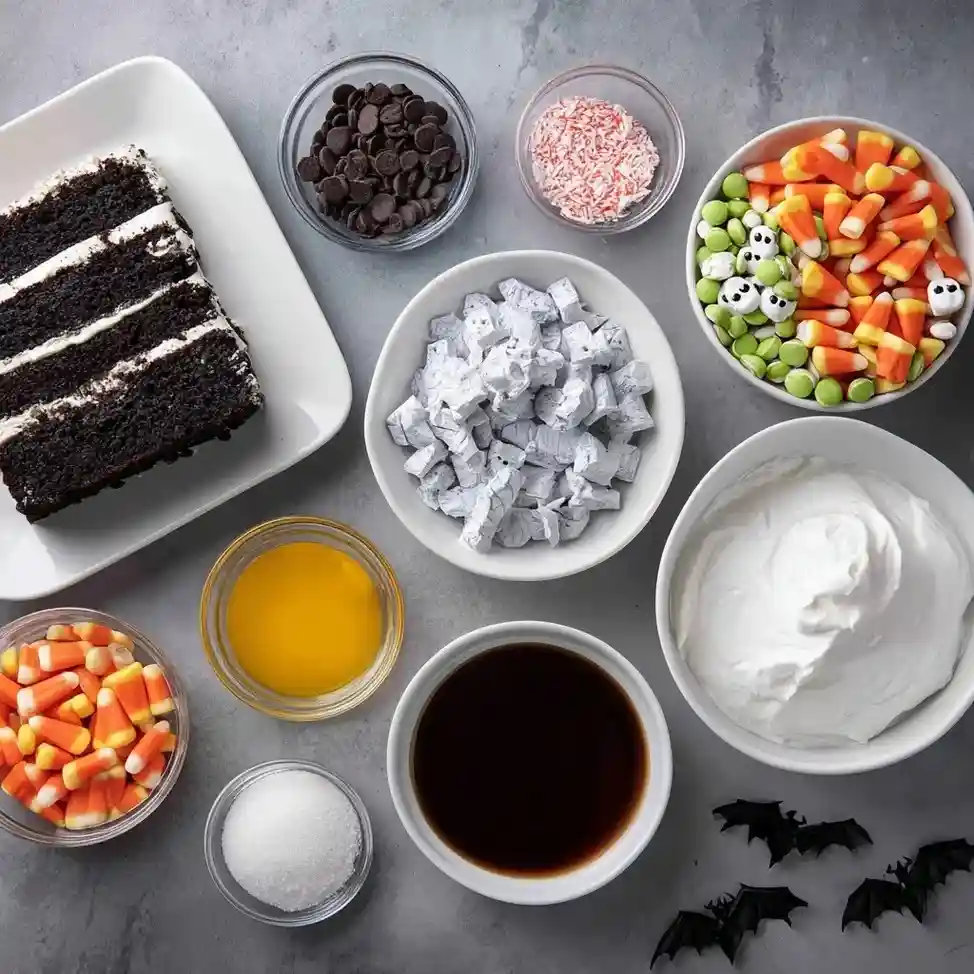
For the Decorations
- Crushed chocolate sandwich cookies (for dirt)
- Milano cookies or graham crackers (for tombstones)
- Black edible marker (to write “RIP” on tombstones)
- Candy pumpkins, gummy worms, or skeleton candy toppers
- Optional: Cotton candy “spiderwebs” or chocolate bats
Step-by-Step Baking Guide

Graveyard Cake
Ingredients
Equipment
Method
- Preheat oven to 350°F (175°C). Grease and flour a 9×13-inch baking pan. In a large bowl, whisk together flour, sugar, cocoa, baking powder, baking soda, and salt.
- In a separate bowl, mix buttermilk, oil, eggs, and vanilla. Slowly stir into dry mixture. Add hot water or coffee and stir until batter is thin and smooth. Pour into prepared pan.
- Bake for 30–35 minutes or until a toothpick comes out clean. Let cake cool completely before frosting.
- Beat softened butter until creamy. Slowly add powdered sugar and cocoa powder. Mix in heavy cream, vanilla, and salt until frosting is smooth and spreadable.
- Frost the cooled cake evenly to create the base layer.
- Sprinkle crushed chocolate cookies over the frosting to form a dirt layer.
- Insert cookie tombstones upright and decorate with candy pumpkins, worms, and skeletons. Use edible marker to write ‘RIP’ on tombstones.
- Optional: Add cotton candy spiderwebs or chocolate bats for an extra spooky effect. Serve and enjoy!
Nutrition
Notes
Tried this recipe?
Let us know how it was!1. Prepare the Cake Batter
Preheat your oven to 350°F (175°C). Grease and flour a 9×13-inch baking pan or two round pans if you want a layered look. In a large bowl, whisk together the flour, sugar, cocoa powder, baking powder, baking soda, and salt.
In a separate bowl, mix the buttermilk, oil, eggs, and vanilla. Slowly add the wet mixture to the dry ingredients. Finally, stir in the hot water or coffee—it will make the batter thin but extra moist. Pour into your pan.
2. Bake the Cake
Bake for 30–35 minutes (for a 9×13 pan) or 25–30 minutes (for round pans). The cake is ready when a toothpick inserted in the center comes out clean. Cool completely before frosting.
3. Make the Frosting
Beat the softened butter until creamy. Slowly add powdered sugar and cocoa powder. Pour in heavy cream and vanilla, whipping until smooth and spreadable. Adjust with more cream if needed.
4. Frost the Cake
Spread a generous layer of frosting over the cooled cake. This will be the “ground” of your graveyard.
5. Add the Dirt Layer
Crush Oreos into fine crumbs and sprinkle them over the frosted cake. This creates a realistic soil texture.
Decorating Your Graveyard Cake
This is where the fun begins! A graveyard cake is all about creativity, and no two cakes ever look the same.
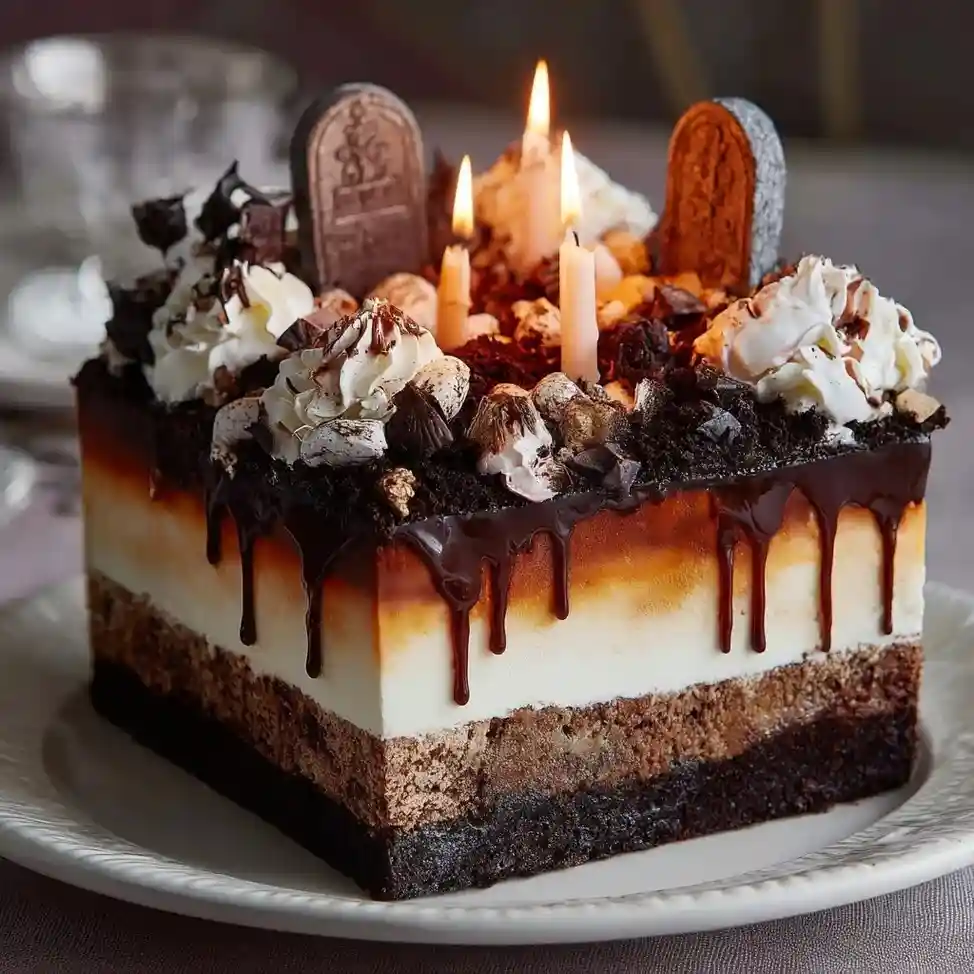
- Tombstones: Use Milano cookies, graham crackers, or chocolate rectangles. Write “RIP,” skulls, or cross designs with edible marker or melted chocolate. Press them upright into the cake.
- Skeletons & Bones: Use white chocolate candies or candy skeleton molds. Make it look like bones are poking out of the ground.
- Ghosts: Pipe small dollops of white frosting and add mini chocolate chips for eyes.
- Pumpkins & Worms: Place candy pumpkins and gummy worms around the tombstones.
- Haunted House Cake Upgrade: If you want to go big, use a gingerbread haunted house kit and place it in the background of your graveyard.
The key is layering decorations add tombstones at different angles, sprinkle candy bones around, and let gummy worms crawl out of the “dirt.”
Serving & Pairing Ideas
A graveyard cake isn’t just spooky to look at it’s decadent to eat. Here’s how to serve it in style:
- With Drinks: Pair with hot apple cider, pumpkin spice lattes, or even black coffee for a gothic twist.
- Party Platter: Surround the cake with graveyard brownies or coffin-shaped cookies for a full dessert spread.
- Birthday Option: Transform it into a spooky birthday cake by adding black candles or “aged parchment” toppers with the birthday message.
- Fall Flavor Twist: Add a pumpkin spice layer or a cinnamon cream cheese frosting to complement the chocolate.
Storage Tips
To keep your graveyard cake fresh for parties:
- Room Temperature: Store covered with plastic wrap or in a cake container for up to 2 days.
- Refrigerator: Keeps up to 5 days, but allow the cake to come to room temp before serving for best texture.
- Freezer: Freeze unfrosted cake layers for up to 2 months. Thaw and decorate when ready.
- Decoration Hack: If making ahead, add cookies and candy decorations just before serving so they don’t get soggy.
FAQ – Graveyard Cake
1. Can I make a graveyard cake ahead of time?
Yes! Bake the cake up to 2 days ahead. Store it covered and decorate it on the day of your party for the freshest look.
2. What can I use instead of Oreo crumbs for dirt?
You can use crushed graham crackers mixed with cocoa powder, or even ground-up chocolate cake scraps.
3. Can I make a graveyard cake without chocolate?
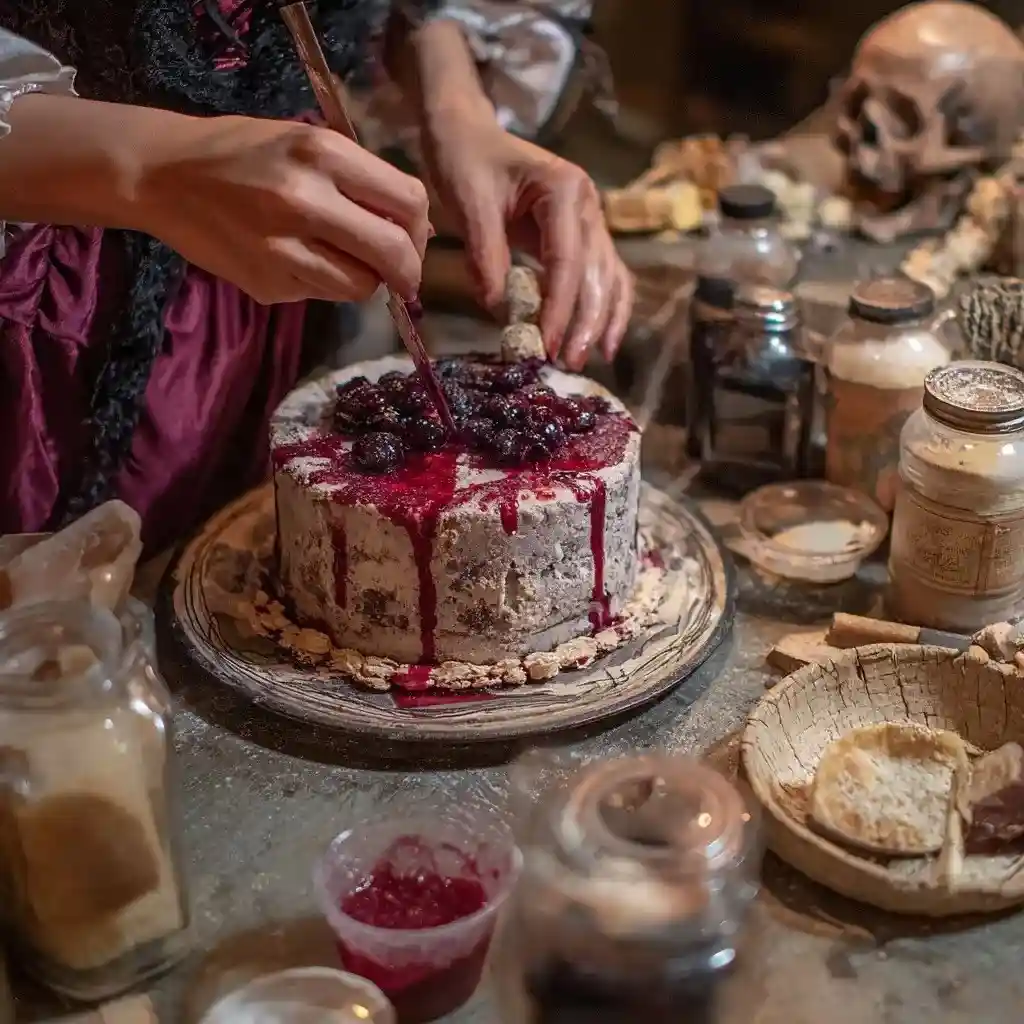
Absolutely. A vanilla or red velvet cake works great—red velvet even adds a bloody effect, perfect for a horror cake theme.
4. How do I make a gluten-free version?
Use a gluten-free flour blend for the cake and gluten-free cookies for the tombstones and dirt layer.
5. Can kids help decorate a graveyard cake?
Definitely! Kids love writing “RIP” on cookies and adding gummy worms. It’s one of the best spooky cake ideas for family fun.
6. Can I turn this into cupcakes instead?
Yes! Bake chocolate cupcakes, frost them, and add a mini tombstone cookie to each. They’re perfect for classroom parties.
Conclusion
A Graveyard Cake is more than just a dessert it’s a Halloween centerpiece that doubles as edible art. With its moist chocolate base, eerie decorations, and endless customization options, it’s the perfect way to celebrate fall festivities. Whether you’re making a simple version for family or a dramatic gothic cake for a Halloween party, this recipe will haunt your guests in the best way possible.