There’s nothing quite like a Dirt Cake Halloween Recipe to bring spooky fun to your dessert table! Layers of chocolate pudding, crushed Oreos, and creepy candy decorations make this treat a favorite among kids and adults alike. It’s the kind of dessert that looks delightfully ghoulish but tastes irresistibly rich and creamy.
Whether you’re hosting a Halloween bash, need a last-minute classroom dessert, or just want something festive and fun, this Halloween Dirt Cake is the perfect no-bake recipe to impress your guests.
Why Dirt Cake Is the Ultimate Halloween Dessert
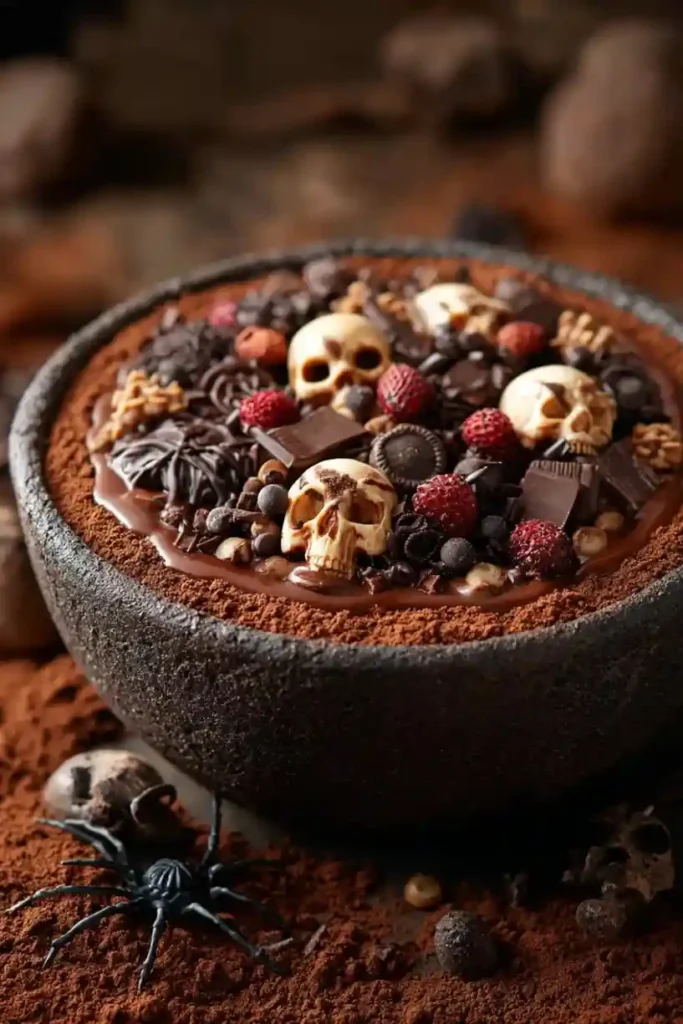
Halloween desserts are all about creativity and dirt cake offers endless possibilities. With its dark “soil” of crushed Oreos and edible worms crawling through creamy pudding layers, this spooky dessert strikes the perfect balance of fun and flavor.
What makes this Dirt Cake Halloween Recipe so great:
- Easy & No-Bake: Perfect for busy party prep.
- Kid-Friendly: Simple layering and decorating make it a hit for families.
- Customizable: Add ghost toppers, candy bones, or gravestone cookies for unique designs.
- Crowd-Pleaser: Everyone loves Oreos, pudding, and gummy worms it’s comfort food with a Halloween twist!
If you’ve ever made Oreo Dirt Pudding or Chocolate Dirt Cake, you’ll find this version even more festive. It’s like a Halloween party in every spoonful!
Essential Ingredients Dirt Cake Halloween Recipe
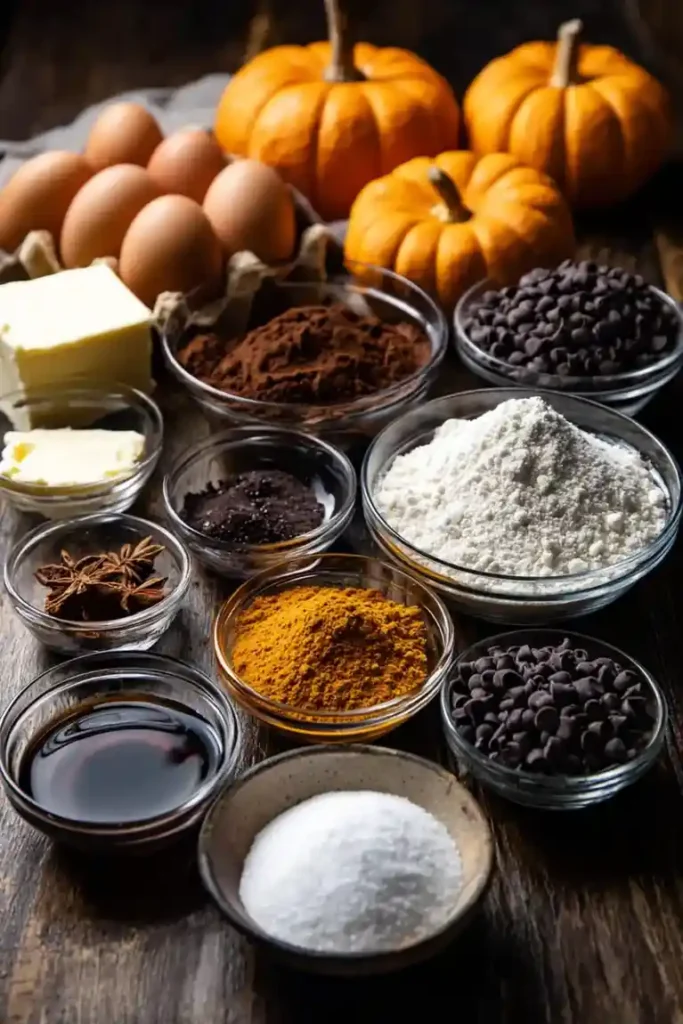
This recipe calls for classic pantry staples and a few spooky add-ins to make it Halloween-ready.
For the Pudding Layers:
- 1 package (14.3 oz) Oreos crushed into fine crumbs
- 2 packages (3.9 oz each) instant chocolate pudding mix
- 3½ cups cold milk
- 1 package (8 oz) cream cheese, softened
- ½ cup unsalted butter, softened
- 1 cup powdered sugar
- 1 container (12 oz) whipped topping (Cool Whip or homemade)
- 1 tsp vanilla extract
For the Decorations:
- Gummy worms
- Candy corn
- Milano or rectangular cookies (for gravestones)
- Black edible marker or icing pen
- Candy pumpkins
- Optional: Meringue ghosts or chocolate bats
Pro Tip: Add a teaspoon of espresso powder to the pudding layer for an extra depth of chocolate flavor it won’t taste like coffee, just richer!
Step-by-Step Baking Guide Mixing, Layering, Chilling
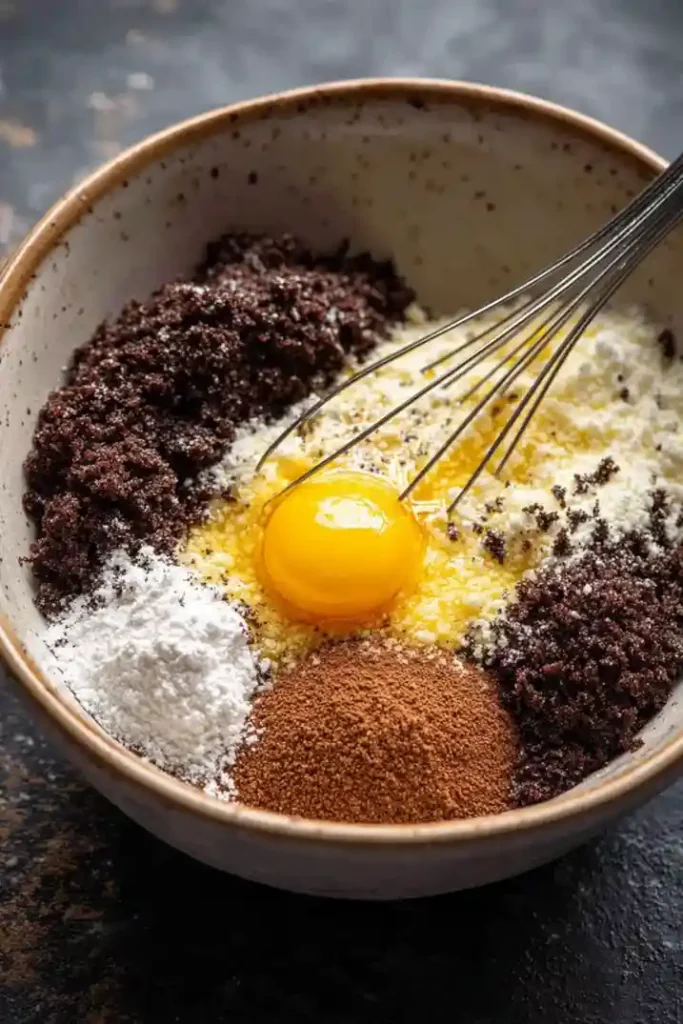
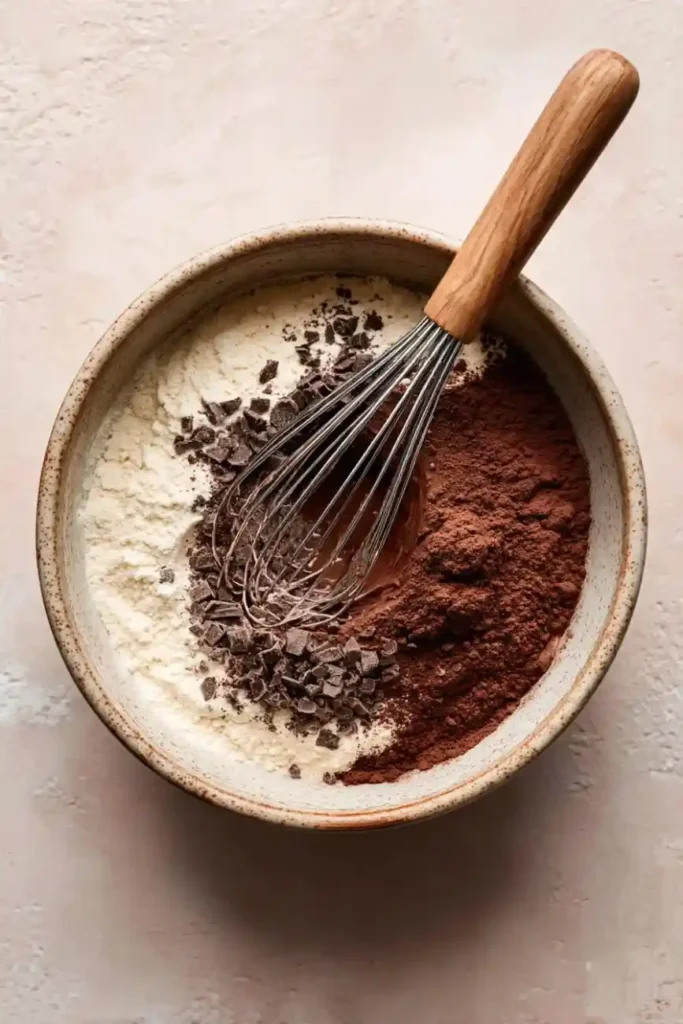
Step 1: Crush the Oreos
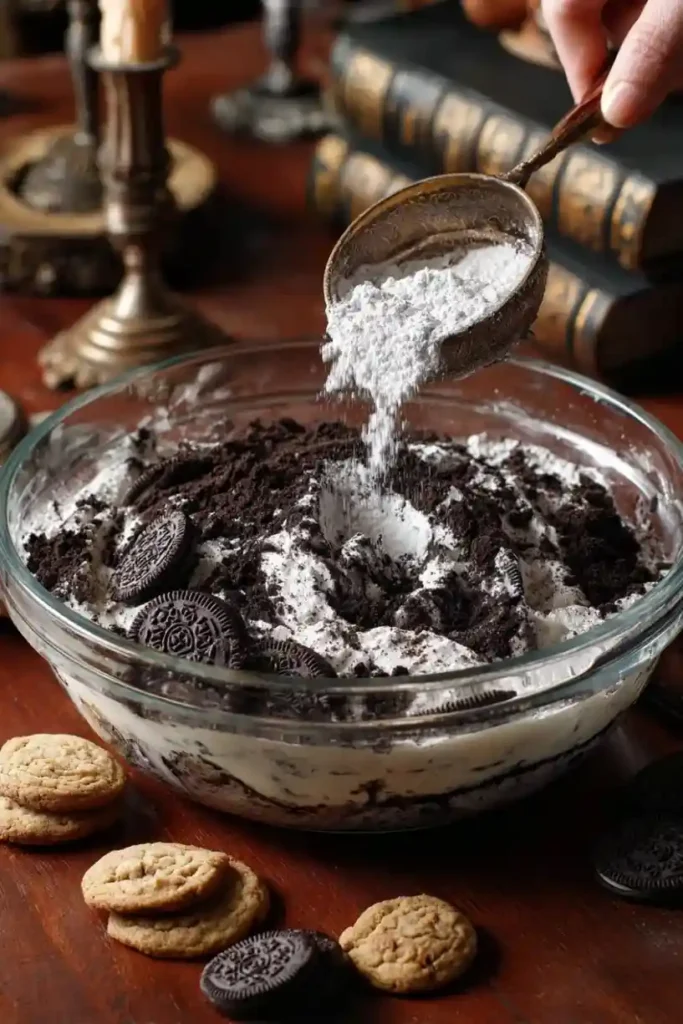
Use a food processor or zip-top bag and rolling pin to crush the Oreos into fine crumbs. You want a mix of textures some fine, some chunky for that realistic “dirt” look.
Step 2: Make the Creamy Fillin
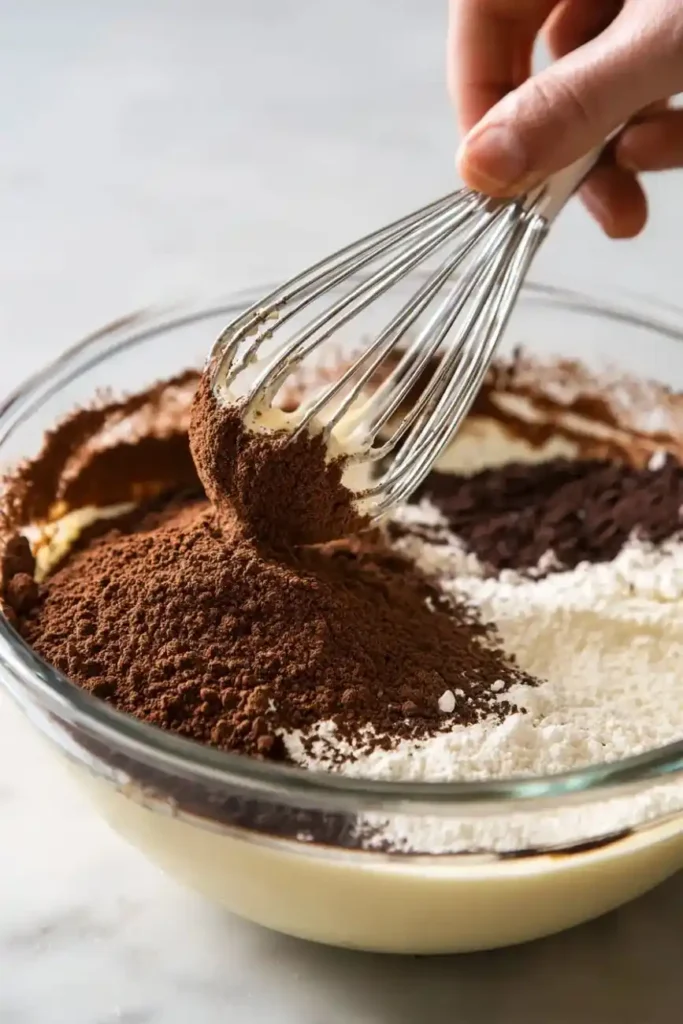
In a large bowl, beat the butter, cream cheese, and powdered sugar until smooth and fluffy. In another bowl, whisk together pudding mixes and cold milk until thickened (about 2 minutes).
Gently fold the pudding mixture into the cream cheese blend, then fold in whipped topping and vanilla. You should have a silky, creamy mousse-like filling.
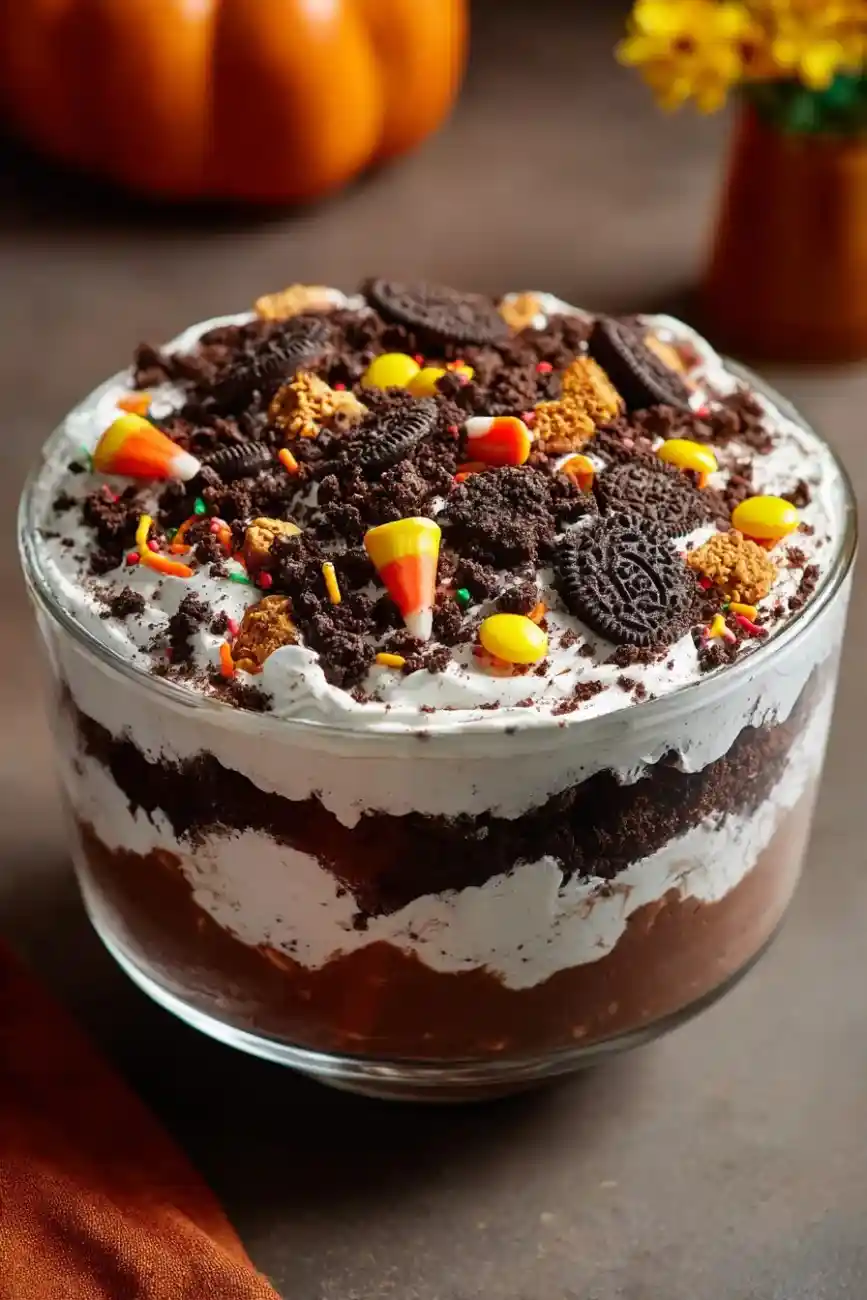
Step 3: Assemble the Layers
In a trifle bowl, glass dish, or individual cups:
- Start with a layer of crushed Oreos.
- Spoon on a thick layer of pudding mixture.
- Repeat until the dish is full, ending with Oreo “dirt” on top.
Step 4: Chill to Set
Cover and refrigerate for at least 2 hours, or overnight if possible. The flavors meld beautifully, and the texture becomes perfectly creamy.
Step 5: Decorate!
Now the fun part transform your cake into a spooky masterpiece!
Dirt Cake Halloween Recipe
Ingredients
Equipment
Method
- Use a food processor or zip-top bag and rolling pin to crush the Oreos into fine crumbs. Leave a few chunks for a more realistic dirt texture.
- In a large bowl, beat together the softened butter, cream cheese, and powdered sugar until smooth and fluffy.
- In another bowl, whisk the pudding mixes with cold milk until thickened, about 2 minutes. Fold the pudding into the cream cheese mixture, then gently fold in the whipped topping and vanilla.
- Layer the dessert in a large trifle bowl, glass dish, or individual cups. Start with crushed Oreos, add pudding mixture, and repeat until full. End with a layer of Oreo crumbs on top.
- Cover the dish and refrigerate for at least 2 hours or overnight to allow the flavors to meld and texture to set.
- Decorate the top with gummy worms, cookie gravestones (write RIP or BOO using icing), candy pumpkins, and other spooky elements just before serving.
Nutrition
Notes
Tried this recipe?
Let us know how it was!Decorating Ideas for Your Halloween Dirt Cake
This is where your Halloween Dirt Cake becomes the highlight of the party.
Classic Graveyard Cake
- Write “RIP” or “BOO” on Milano cookies using black icing and stick them into the top layer as gravestones.
- Add gummy worms crawling out of the “dirt.”
- Sprinkle candy bones or candy corn around the “graves.”
Pumpkin Patch Cake
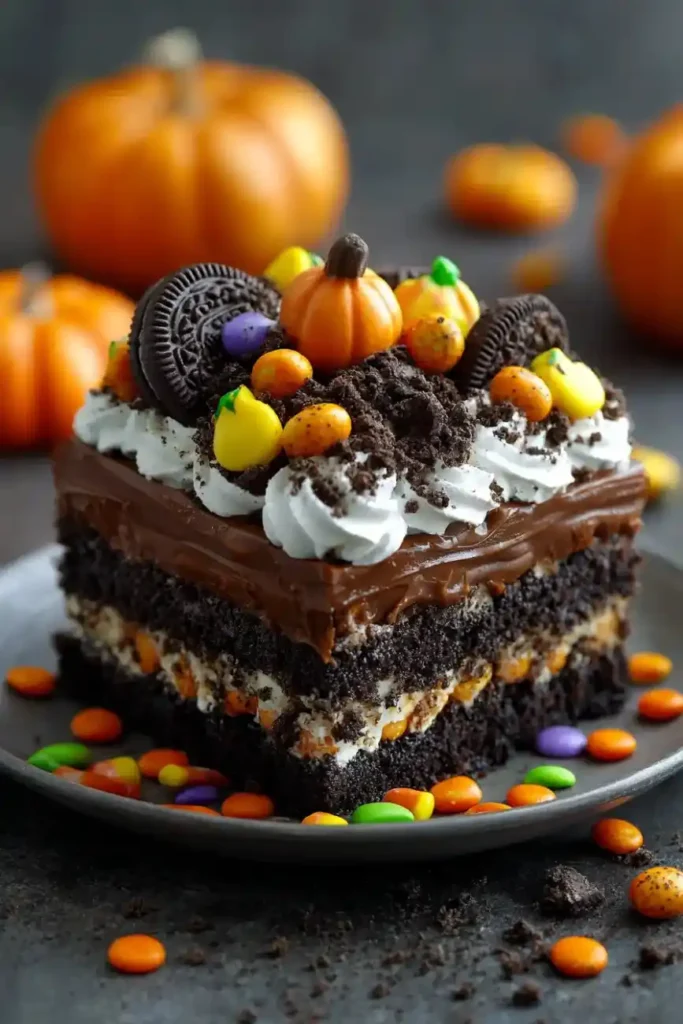
- Add candy pumpkins and green frosting vines for a harvest vibe.
- Sprinkle with orange and black nonpareils.
Spooky Monster Cake
- Pipe ghost shapes using white icing or mini meringues.
- Add candy eyeballs or spiders for an extra-creepy touch.
Kid-Friendly Cups
- Layer pudding and Oreos in clear cups for Halloween Dirt Pudding Cups.
- Top each with a gummy worm and candy ghost perfect for portion control and school parties!
Pro Tip: Chill your decorations slightly before adding them to prevent the colors from melting into the pudding.
Serving & Pairing Ideas
The beauty of a Dirt Cake Halloween Recipe is that it’s versatile you can serve it in many ways depending on your event.
- In a trifle bowl: For dramatic, party-worthy presentation.
- In mason jars: Great for grab-and-go treats at a Halloween buffet.
- In cupcake liners: For kid-friendly, no-mess servings.
Pair your dirt cake with:
- Pumpkin spice lattes
- Hot chocolate topped with whipped cream
- Spiced apple cider
- Or a scoop of vanilla ice cream for extra indulgence!
Storage Tips Keep It Fresh and Delicious
This dessert actually gets better as it sits because the flavors blend and the texture softens.
- Refrigerator: Cover tightly with plastic wrap and chill for up to 4 days.
- Freezer: You can freeze it for up to 1 month (without candy decorations). Thaw overnight in the fridge before serving.
Bonus Tip: If you’re prepping ahead for a party, assemble and chill the cake the day before. Add toppings right before serving for the freshest look.
Variations & Creative Twists
Want to make this classic dessert your own? Try these fun twists:
- Chocolate Lovers’ Dream: Use double-stuffed Oreos and chocolate whipped topping.
- Peanut Butter Dirt Cake: Add crushed peanut butter cups between layers.
- Pumpkin Dirt Cake: Swap one pudding mix for pumpkin spice pudding.
- Thanksgiving Twist: Add candy corn and edible leaves for a fall-themed table.
- Dirt Cake Birthday Version: Skip the creepy toppers and add colorful sprinkles and candles!
This recipe is endlessly adaptable make it spooky, cute, or seasonal depending on the occasion.
FAQ Section
Q1: Can I make dirt cake the night before?
Yes! It actually tastes even better after chilling overnight.
Q2: What kind of cookies can I use instead of Oreos?
Try chocolate graham crackers, fudge cookies, or any crisp chocolate cookie.
Q3: Can I make this without cream cheese?
Yes, just use extra whipped topping or pudding the texture will be lighter but still delicious.
Q4: How do I keep the gummy worms from getting hard?
Add them right before serving to keep them soft and chewy.
Q5: Can I make dirt cake cups instead of one big cake?
Definitely! Divide the mixture into 6–8 cups and layer individually for easy party servings.
Q6: Can this be made dairy-free?
Yes use plant-based pudding, almond milk, and dairy-free whipped topping for a vegan-friendly version.
Conclusion The Spookiest, Easiest Halloween Dessert
This Dirt Cake Halloween Recipe is the ultimate combination of creepy and delicious! It’s rich, creamy, and ridiculously easy to make no oven, no stress, just layers of chocolatey goodness.
With candy worms, Oreo crumbs, and customizable toppings, this dessert brings all the Halloween fun to your table. Whether you serve it at a party or make it as a family project, it’s guaranteed to be a hit with kids and grown-ups alike.
So grab your Oreos, whip up your pudding, and start layering because your Halloween Dirt Cake is about to steal the spotlight!