What if we told you that the rich, festive magic of a Peppermint Mocha Cake the kind you see in bakery windows during the holidays is actually something you can master at home? No fancy culinary degree required! This isn’t just another cake recipe. It’s your ticket to creating a showstopper that’s surprisingly easy, incredibly delicious, and packed with cozy flavors that everyone will love. So, are you ready to become the hero of your next gathering? Let’s find out how!
For mor recipes cake follow me in Facebook
What Makes This Peppermint Mocha Cake So Special?
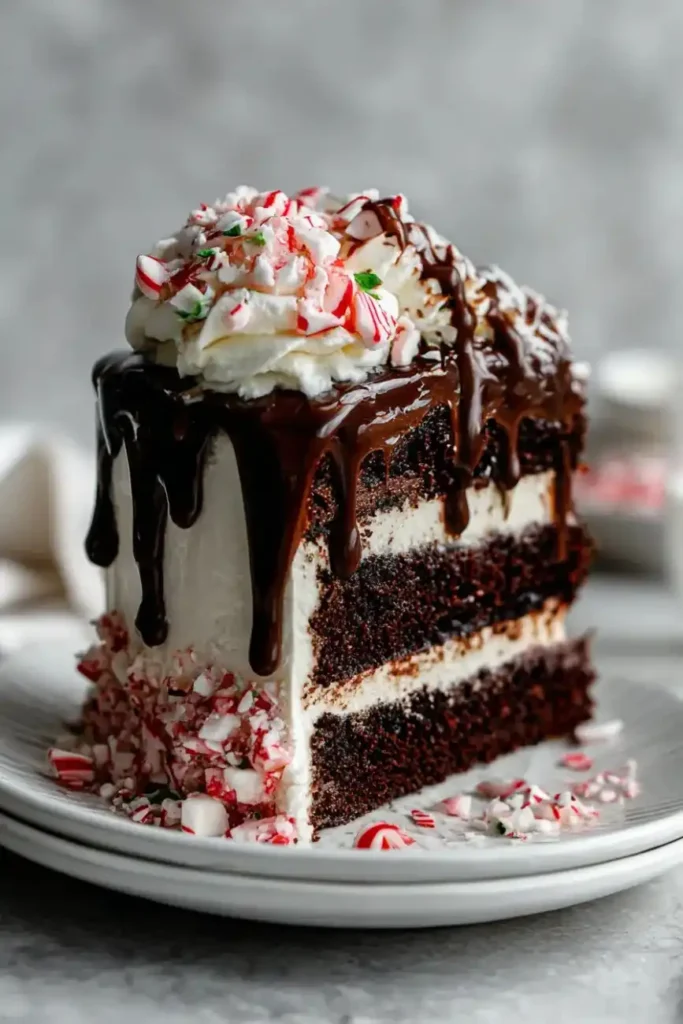
This Peppermint Mocha Cake is the ultimate holiday mash-up. It combines the deep, comforting notes of a rich chocolate cake with the bold, warm flavor of freshly brewed coffee (that’s the “mocha” part!). Then, it gets a cool, refreshing twist from crushed peppermint candy, making every bite a perfect balance of cozy and crisp.
The best part? It’s not as hard as it sounds! This recipe is designed for home bakers of all levels. We’ve broken it down into 7 simple, foolproof steps that will guide you from mixing bowl to a beautiful, finished cake.
- Time Required: You can have this cake in the oven in about 30 minutes of prep time. Add about 30-35 minutes for baking, and then you’ll need time for it to cool before frosting (this is the hardest part waiting!). Plan for about 3-4 hours total from start to slice, but most of that is hands-off cooling time.
- Difficulty Level: Easy to Moderate. If you can mix ingredients and follow a few simple instructions, you’ve got this! The key is in the details, which we’ll cover in each step.
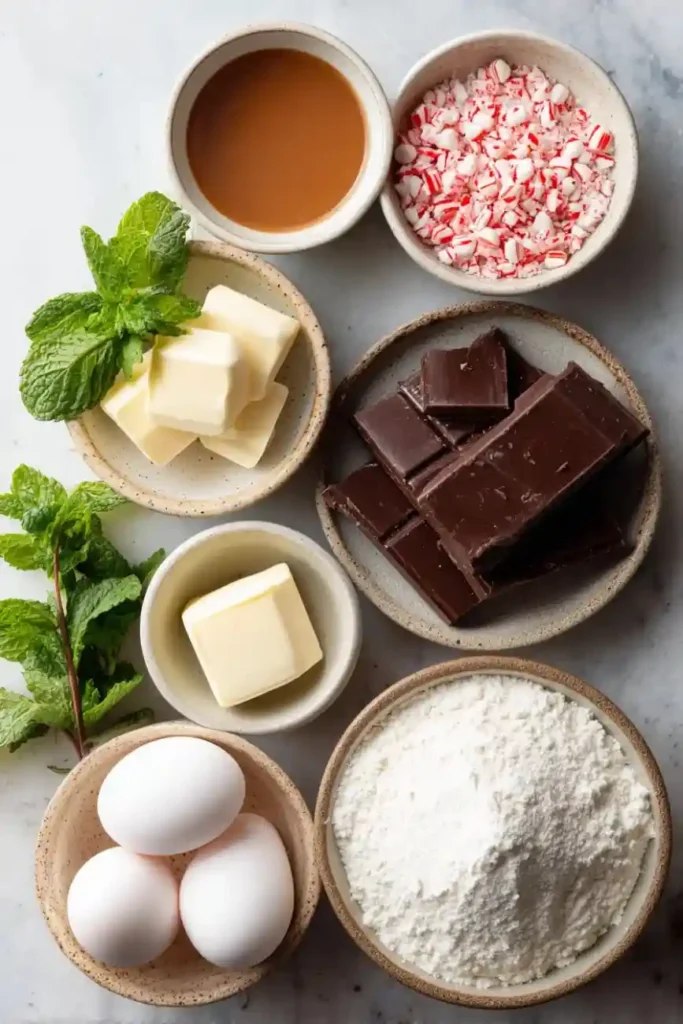
Essential Ingredients for Your Perfect Peppermint Mocha Cake
Every great cake starts with great ingredients. Here’s what you’ll need and why each one matters.
For the Cake
- All-Purpose Flour (2 ½ cups): This is the structure of your cake. It gives the cake its body and helps it hold its shape.
- Granulated Sugar (2 cups): Sugar isn’t just for sweetness! It also helps keep the cake tender and moist, and it helps the cake brown beautifully in the oven .
- Unsweetened Cocoa Powder (¾ cup): This is your chocolate flavor base. Using a good quality cocoa powder will give your cake a deep, rich chocolate taste without any added sugar .
- Baking Powder & Baking Soda (1 ½ tsp & ½ tsp): These are your leavening agents. They create little air bubbles in the batter that make your cake rise and become light and fluffy.
- Salt (1 tsp): A pinch of salt might seem odd in a sweet cake, but it’s essential! It balances the sweetness and makes all the other flavors pop.
- Eggs (3 large): Eggs add structure, richness, and help bind all the ingredients together.
- Butter (1 cup, softened): Butter gives your cake an amazing, rich flavor and a soft, tender crumb. Make sure it’s softened to room temperature so it mixes in smoothly.
- Vanilla Extract (2 tsp): This adds a warm, sweet background note that complements both the chocolate and the coffee.
- Strong Brewed Coffee (1 cup, hot): This is the secret weapon! The hot coffee doesn’t make your cake taste like a cup of joe. Instead, it deepens and enhances the chocolate flavor, creating that signature “mocha” taste . You can use regular or decaf.
For the Frosting
- Butter (1 cup, softened): The base of your creamy, dreamy frosting.
- Powdered Sugar (4 cups): This is what makes the frosting sweet and gives it its smooth, spreadable texture.
- Unsweetened Cocoa Powder (½ cup): For a rich chocolate frosting that matches the cake.
- Strong Brewed Coffee or Espresso (2-3 tbsp): Just a little bit adds that mocha flavor to the frosting.
- Peppermint Extract (½ – 1 tsp): This is where the “peppermint” magic happens! Start with ½ tsp and add more to taste. It’s very strong, so a little goes a long way.
- Crushed Candy Canes or Peppermint Candy (½ – 1 cup): For mixing into the frosting and for a festive topping.
Substitutions and Variations
- Gluten-Free? You can substitute the all-purpose flour with a 1:1 gluten-free baking flour blend.
- Dairy-Free? Use a plant-based butter (like Earth Balance) and a non-dairy milk in place of the coffee if needed (though the coffee is best for flavor).
- Don’t have coffee? In a pinch, you can use hot water, but your cake will miss that deep mocha flavor. You could also use 1-2 tablespoons of instant espresso powder dissolved in 1 cup of hot water.
- Want it less sweet? You can reduce the sugar in the cake by ¼ cup, and in the frosting, start with 3 cups of powdered sugar and add more only if needed.
Step-by-Step Instructions: Your 7-Step Path to Perfection
Follow these 7 easy steps, and you’ll have a professional-looking cake in no time!
Step 1: Get Your Kitchen Ready (The Secret Pro Move!)
Before you start mixing a single ingredient, get everything ready. This is called “mise en place,” a fancy French term that just means “everything in its place.” It makes the whole process smoother and less stressful.
- Preheat your oven to 350°F (175°C).
- Grease and flour two 9-inch round cake pans. For a super clean release, you can also line the bottoms with parchment paper.
- Get all your ingredients out and measure them. This ensures you won’t be scrambling for a missing item halfway through.
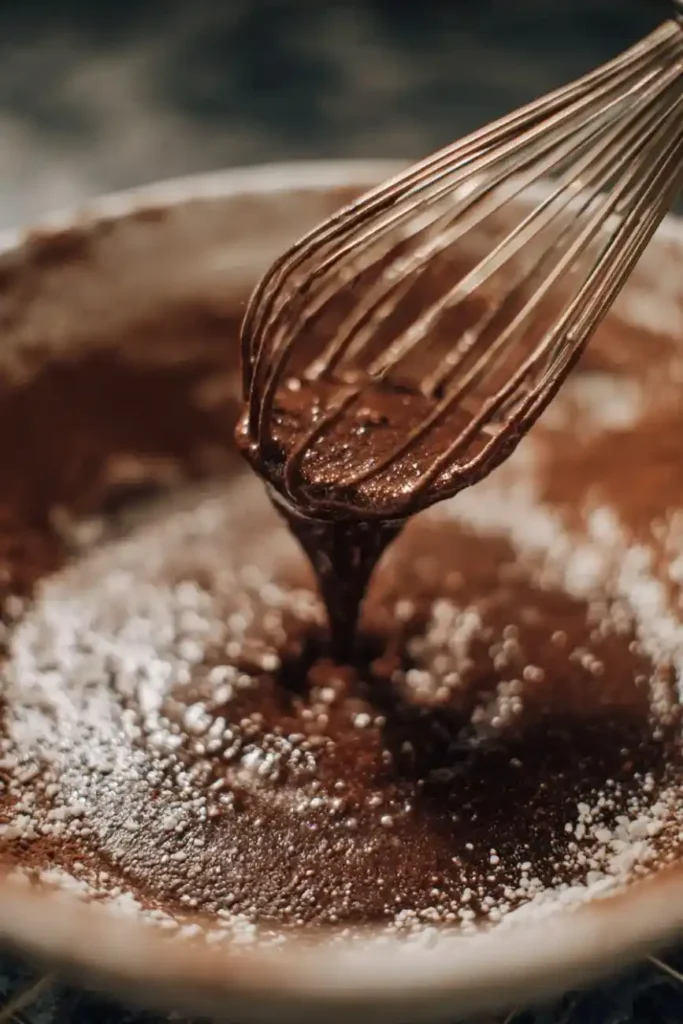
Step 2: Mix Your Dry Ingredients
In a large bowl, whisk together the flour, cocoa powder, baking powder, baking soda, and salt. Whisking them together ensures they are evenly distributed, which means your cake will bake evenly. Set this bowl aside.
Step 3: Cream the Butter and Sugar
In a separate, large mixing bowl, beat the softened butter and granulated sugar together with an electric mixer on medium speed. Beat them for about 3-4 minutes, until the mixture is light in color and fluffy. This step is crucial because it traps air in the mixture, which helps your cake rise and become tender.
Step 4: Add the Wet Ingredients
Add the eggs to the butter-sugar mixture, one at a time, beating well after each addition. Then, mix in the vanilla extract. Your batter will look thick and creamy at this point.
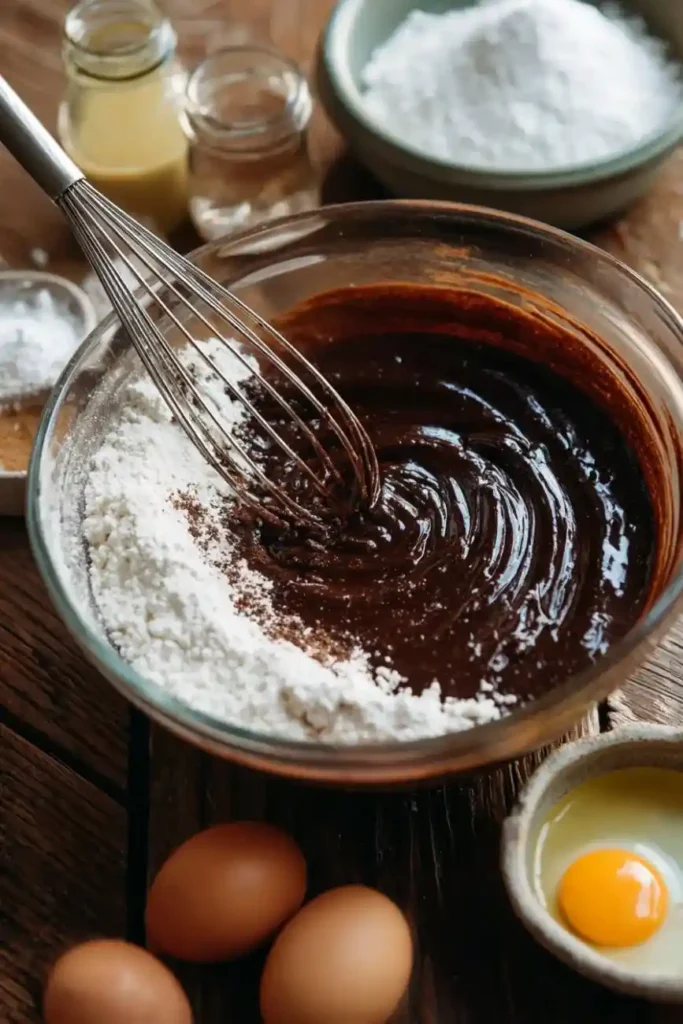
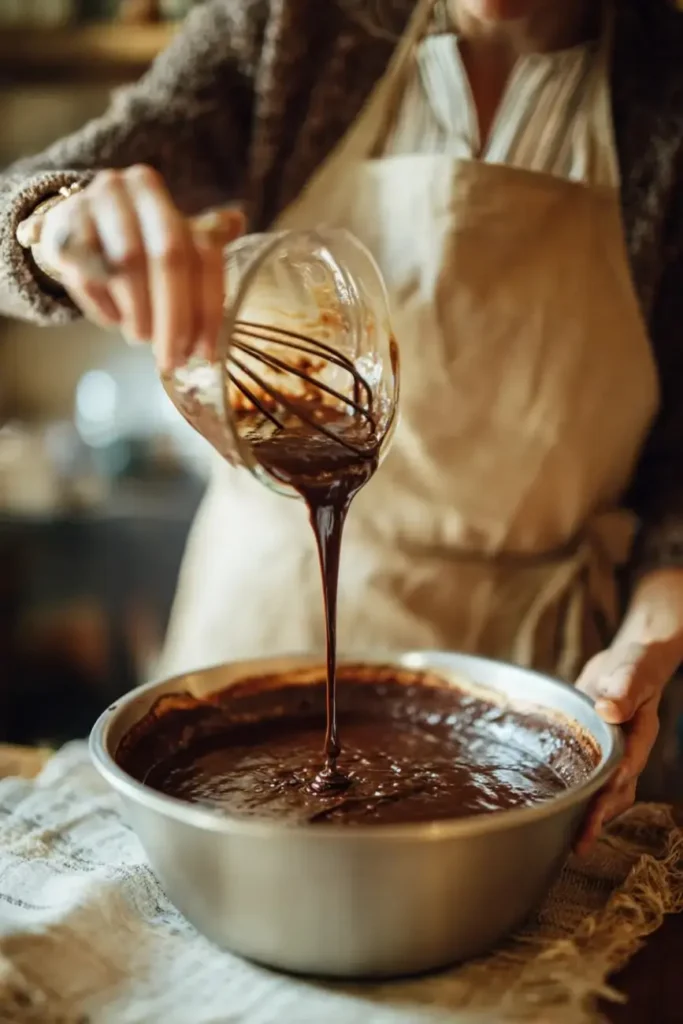
Step 5: Combine Wet and Dry (The Gentle Way!)
Now, it’s time to bring it all together. Add the dry ingredients to the wet ingredients in three parts, alternating with the hot coffee. Start and end with the dry ingredients. The order should be: 1/3 dry, 1/2 coffee, 1/3 dry, 1/2 coffee, last 1/3 dry.
Important Tip: Mix on low speed just until the ingredients are combined. Do not overmix! Overmixing develops the gluten in the flour, which can make your cake tough and dense instead of light and fluffy. A few small lumps are okay.
Step 6: Bake to Golden Perfection
Divide the batter evenly between your two prepared cake pans. Tap the pans gently on the counter a few times to release any large air bubbles.
Bake for 30-35 minutes, or until a toothpick inserted into the center of the cakes comes out clean or with just a few moist crumbs.
Pro Tip: Ovens can have hot spots. To ensure even baking, rotate the pans halfway through the baking time.
Step 7: Cool Completely (Patience is a Virtue!)
This is the hardest step, but it’s so important! Let the cakes cool in their pans on a wire rack for 10-15 minutes. Then, carefully run a knife around the edge of each pan and invert the cakes onto the wire rack to cool completely. Do not frost a warm cake! The heat will melt the frosting and make a big, gooey mess. Let them cool for at least 1-2 hours.
Peppermint Mocha Cake
Ingredients
Equipment
Method
- Preheat oven to 350°F (175°C). Grease and flour two 9-inch round cake pans or line them with parchment paper.
- Whisk together flour, cocoa powder, espresso powder, baking soda, baking powder, and salt in a large bowl.
- In another bowl, whisk together oil (or butter), granulated sugar, brown sugar, eggs, and vanilla until smooth.
- Slowly mix wet ingredients into dry mixture until just combined. Avoid overmixing.
- Stir in hot coffee or hot water. Batter will be thin.
- Mix in peppermint extract (start with ½ tsp and adjust to taste).
- Divide batter between pans. Bake for 30–35 minutes, until a toothpick comes out with moist crumbs. Cool in pans 10 minutes, then transfer to a rack to cool completely.
- To make frosting: Beat softened butter until creamy. Gradually add powdered sugar, cocoa, and espresso powder. Add peppermint extract and cream or milk to desired consistency.
- Assemble cake: Place one layer on plate, frost top, add second layer, then frost entire cake. Optionally apply a crumb coat first and chill for 15–20 minutes before final frosting.
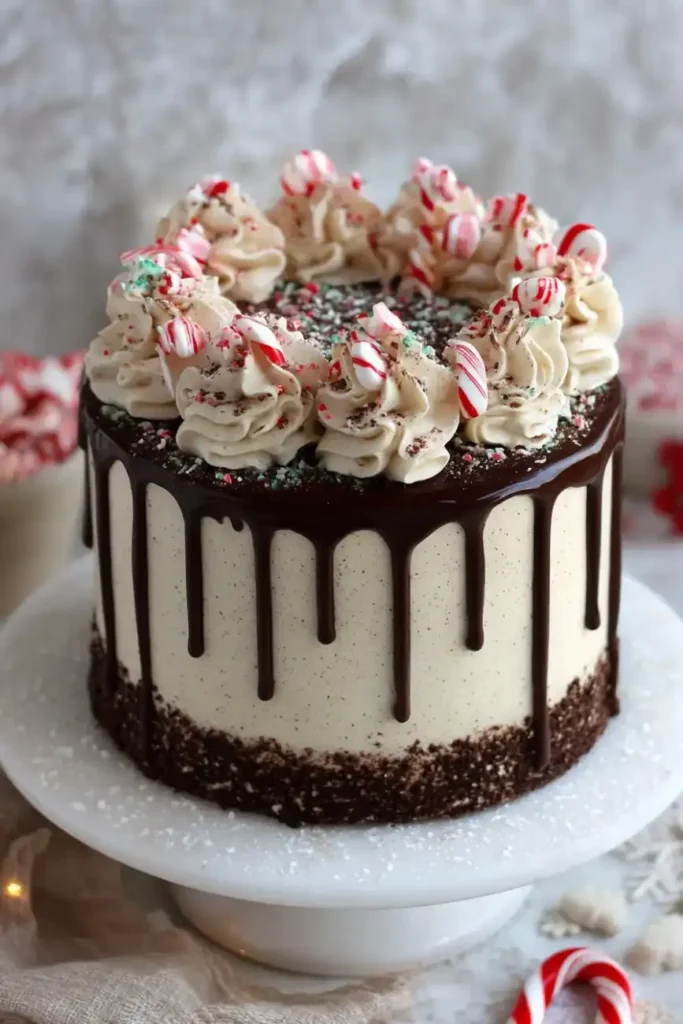
- Decorate with crushed candy canes, cocoa dusting, or piped borders. Store covered in the fridge up to 5 days. Bring to room temperature before serving.
Nutrition
Notes
Tried this recipe?
Let us know how it was!Assembly: Building Your Beautiful Peppermint Mocha Cake
Now for the fun part putting it all together!
Make the Frosting
While your cakes are cooling, make the frosting. In a large bowl, beat the softened butter until it’s creamy. Gradually add the powdered sugar and cocoa powder, mixing on low speed at first to avoid a sugar cloud, then increasing to medium speed. Once it’s combined, add the coffee and peppermint extract. Beat until the frosting is smooth and fluffy. Taste it and adjust the peppermint if you’d like a stronger flavor.
Level Your Cakes (Optional but Recommended)
If your cakes have a domed top, you can use a long serrated knife to carefully slice off the dome to create a flat surface. This makes stacking much easier and your cake will look more professional.
Build the Layers
Place one cake layer on your serving plate or a cake stand. Spread a generous layer of frosting over the top. Sprinkle a handful of crushed peppermint candy over the frosting for a surprise inside! Place the second cake layer on top.
Frost the Whole Cake
Now, apply a “crumb coat.” This is a thin layer of frosting that seals in any loose crumbs. Spread a thin layer of frosting over the entire cake. Don’t worry if you can see the cake through it. Place the cake in the fridge for 15-20 minutes to let this layer set.
After the crumb coat is firm, apply the final, thick layer of frosting. Use a spatula to create a smooth or swirled finish whatever you like!
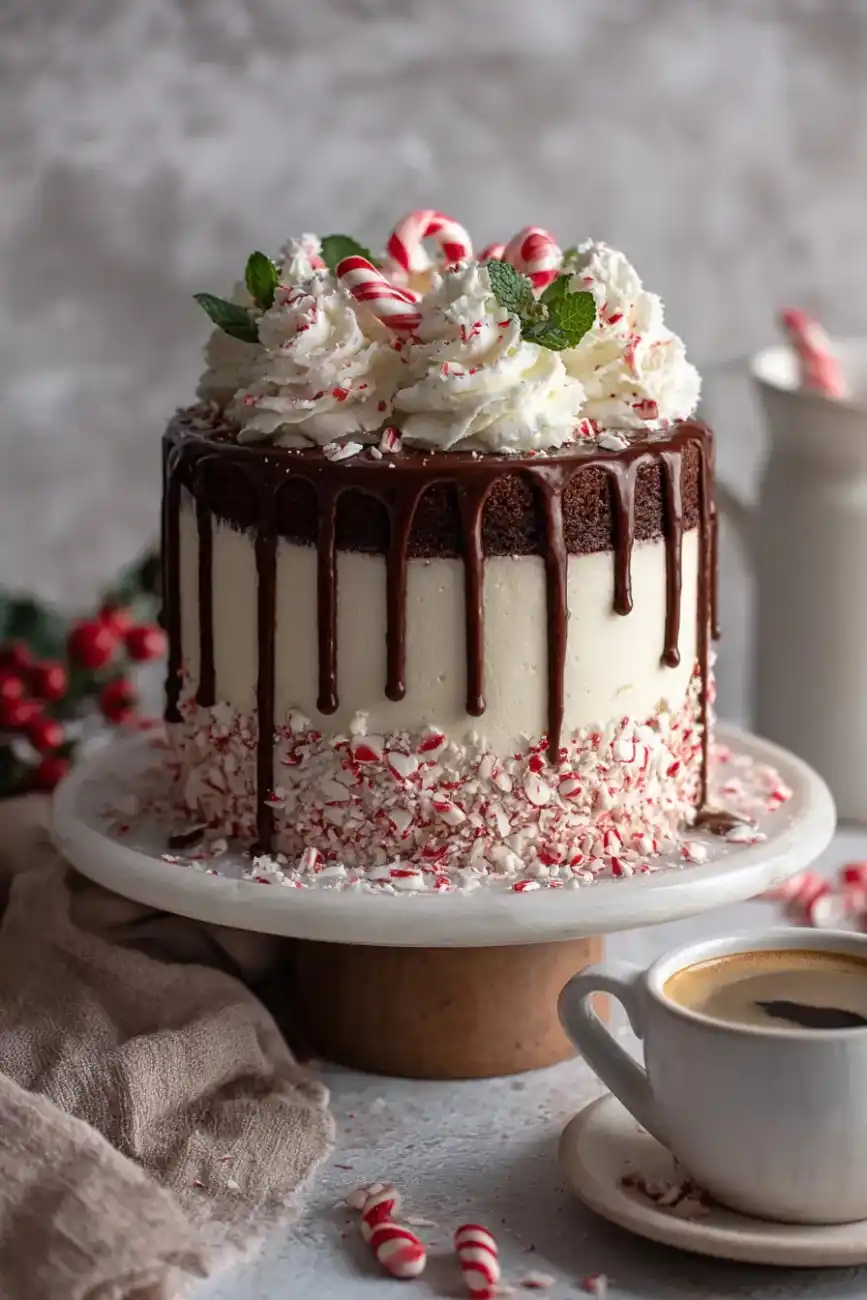
The Grand Finale: Decorate!
For a classic and festive look, press crushed peppermint candy onto the sides of the cake. Then, pile a big mound of it on top. You can also add whole mini candy canes around the edge for a beautiful presentation .
Storage and Make-Ahead Tips
The great news is that this cake actually tastes even better the next day as the flavors have time to meld!
- Make-Ahead Cake Layers: You can bake the cake layers a day or two in advance. Once they are completely cool, wrap them tightly in plastic wrap and store them at room temperature for up to 2 days . For longer storage, you can freeze the layers for up to 3 months. Just wrap them well in plastic and then in foil, and thaw them in the fridge overnight before frosting .
- Make-Ahead Frosting: The frosting can be made a day or two ahead and stored in an airtight container in the fridge for up to a month . Just let it come to room temperature and give it a quick whip with your mixer before using.
- Storing the Finished Cake: Store your fully assembled cake in an airtight container in the fridge for up to 3-4 days . Before serving, let it sit at room temperature for about 30 minutes to let the flavors come alive and the frosting soften.
Recipe Variations to Spark Your Creativity
Once you’ve mastered the classic, try these fun twists!
- Peppermint Mocha Cupcakes: Simply divide the batter into a lined muffin tin and bake for 18-22 minutes. Frost with the same mocha-peppermint frosting for adorable individual treats.
- Vegan Peppermint Mocha Cake: Use a flax egg (1 tbsp ground flax + 2.5 tbsp water per egg), plant-based butter, and almond milk mixed with a little vinegar in place of the coffee if you prefer .
- Peppermint Mocha Bundt Cake: Pour the batter into a greased and floured Bundt pan and bake for 50-60 minutes. A simple dusting of powdered sugar and a sprinkle of crushed candy canes is all it needs .
- White Chocolate Peppermint Mocha: Add a layer of white chocolate ganache between your cake layers for an extra decadent surprise.
Conclusion: Your Kitchen, Your Masterpiece
There you have it! With these 7 easy steps, you’ve unlocked the secret to baking a Peppermint Mocha Cake that looks and tastes like it came from a professional bakery. Remember, baking is as much about the joy of creating as it is about the final product. Don’t be afraid to make a mess, to experiment with the peppermint level, or to add your own personal decorative touch.
This cake is more than just a dessert; it’s a celebration of cozy flavors and the magic of the season. So grab your mixing bowls, put on your favorite holiday music, and get ready to impress your family and friends. You’ve got this!
FAQs: Your Peppermint Mocha Cake Questions, Answered
Q: Can I make this cake without coffee? A: You can, but you’ll miss the “mocha” part! The coffee enhances the chocolate flavor without making the cake taste like coffee. If you must, substitute the hot coffee with hot water, but the flavor won’t be as deep and rich.
Q: My frosting is too thin/thick. What do I do? A: If your frosting is too thin, add more powdered sugar, a few tablespoons at a time. If it’s too thick, add a tiny bit more coffee or milk, a teaspoon at a time, until you reach the right consistency.
Q: Are there any health benefits to this cake? A: While it’s definitely a treat, the dark chocolate (from the cocoa powder) in this cake is a source of antioxidants, which can be good for your heart and brain when enjoyed in moderation [[14], [15]]. Peppermint is known to aid in digestion and can be a natural appetite curber . So, you can enjoy your slice knowing it has a few little perks!
Q: How long can I store this cake? A: A fully assembled Peppermint Mocha Cake can be stored in an airtight container in the refrigerator for 3-4 days . The cake layers themselves can be frozen for up to 3 months .
Q: Can I use mint extract instead of peppermint extract? A: They are not the same! Peppermint extract has a much sharper, more intense, and “candy cane”-like flavor, which is what you want for this recipe. Mint extract (usually spearmint) is milder and more herbal, and it won’t give you that classic holiday peppermint taste.
Q: Why do I need to cool the cake completely before frosting? A: Frosting a warm cake is a recipe for disaster! The heat from the cake will melt the butter in the frosting, causing it to slide right off and become a runny mess. Patience is key for a beautiful, stable cake!