You followed the recipe. You measured the flour. You even used fancy cocoa. So why didn’t your Hot Chocolate Layer Cake taste like the cozy, rich, melt-in-your-mouth dessert you dreamed of?
Here’s the truth: baking a perfect Hot Chocolate Layer Cake isn’t just about mixing ingredients it’s about avoiding common pitfalls that even experienced bakers fall into. The good news? Once you know what to watch for, you’ll bake a moist, chocolatey, dreamy layer cake every single time.
In this post, we’ll walk you through everything you need to know to make a stunning Hot Chocolate Layer Cake and, most importantly, the 10 mistakes to avoid so your cake turns out bakery-worthy (even if you’ve never baked a layer cake before!).
What Makes This Hot Chocolate Layer Cake So Special?
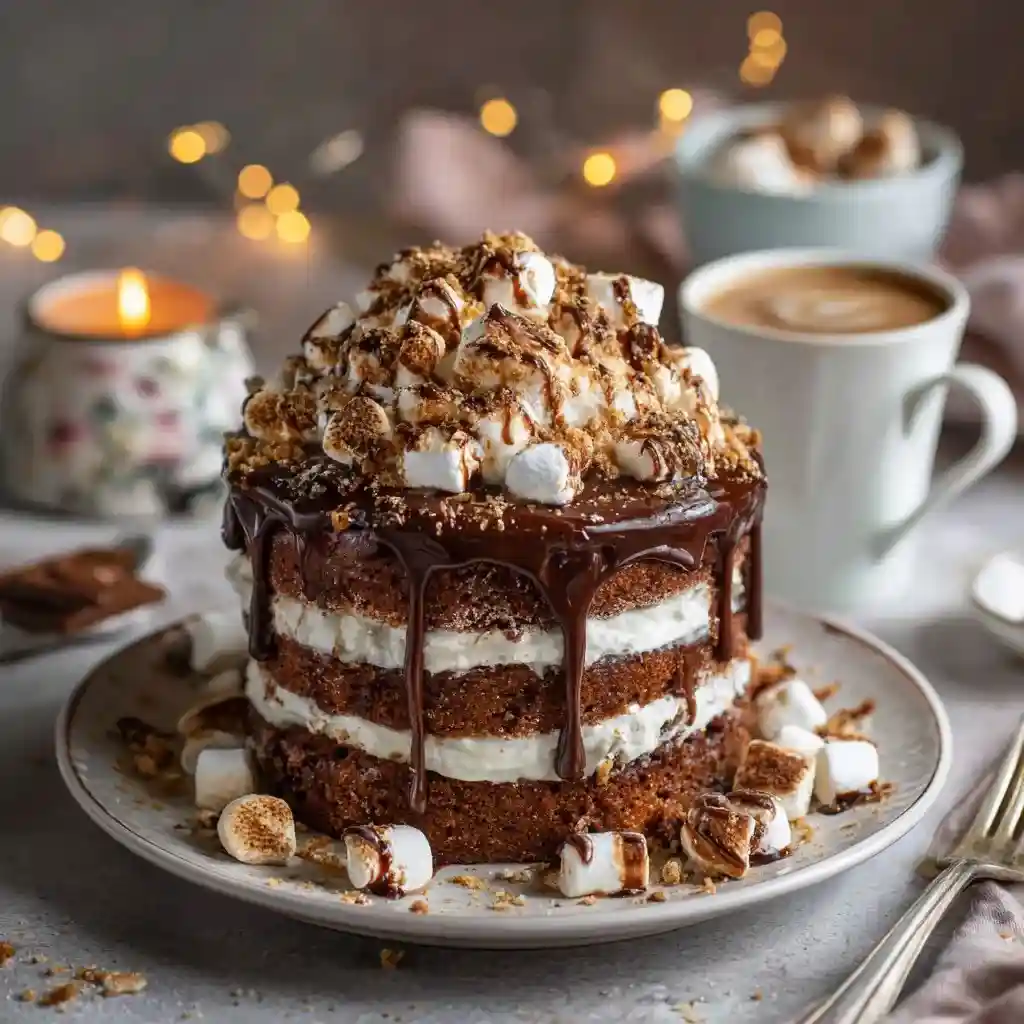
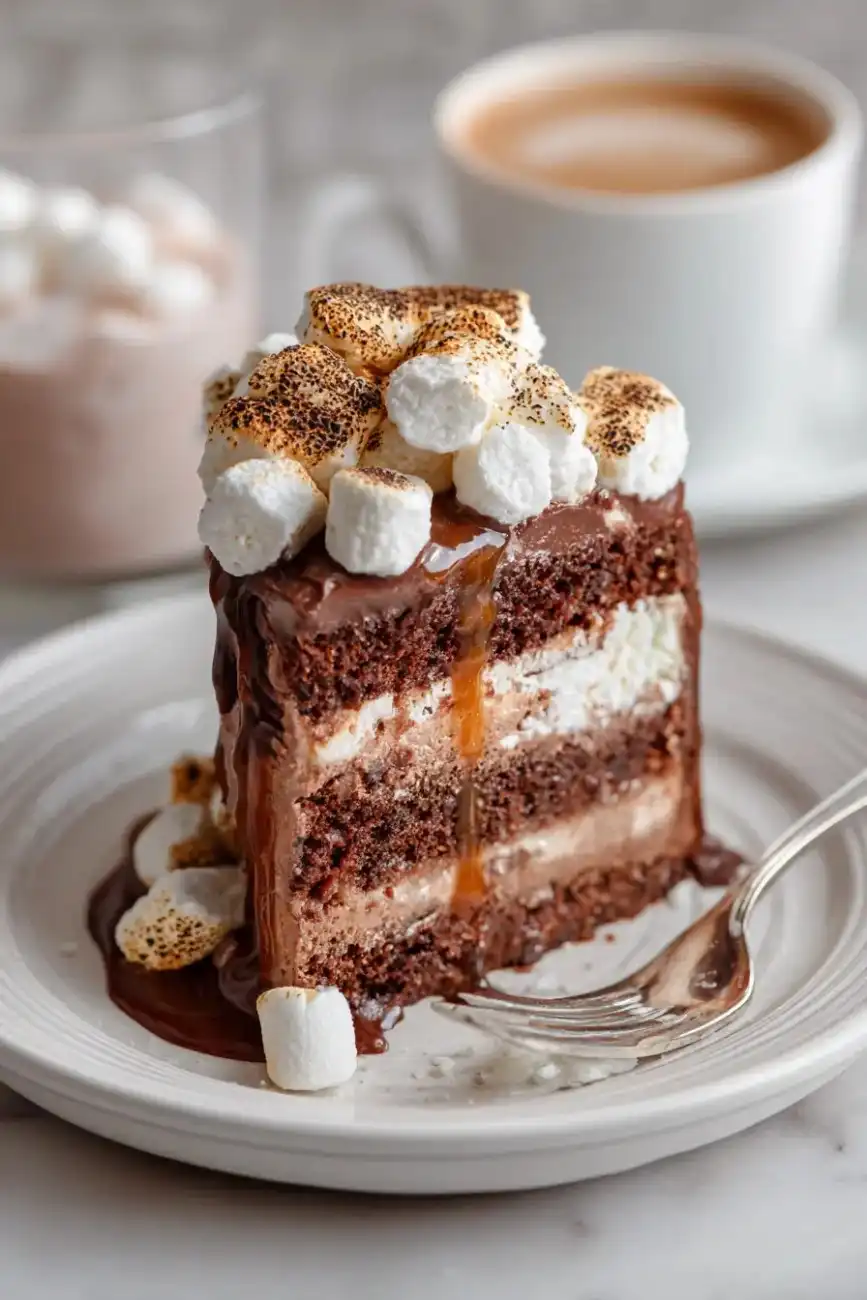
This isn’t your average chocolate cake. Think of your favorite mug of hot cocoa creamy, deeply chocolatey, with that comforting warmth but baked into a fluffy, three-layer masterpiece. It’s rich without being heavy, sweet but balanced, and perfect for birthdays, holidays, or just because it’s Tuesday.
- Prep time: 30 minutes
- Bake time: 30–35 minutes
- Total time: About 1 hour 15 minutes (plus cooling)
- Difficulty level: Easy to moderate (great for beginners with a little patience!)
The secret? A blend of cocoa powder and melted chocolate, plus buttermilk for tenderness. And yes it’s way easier than it looks!
Essential Ingredients (And Why They Matter)
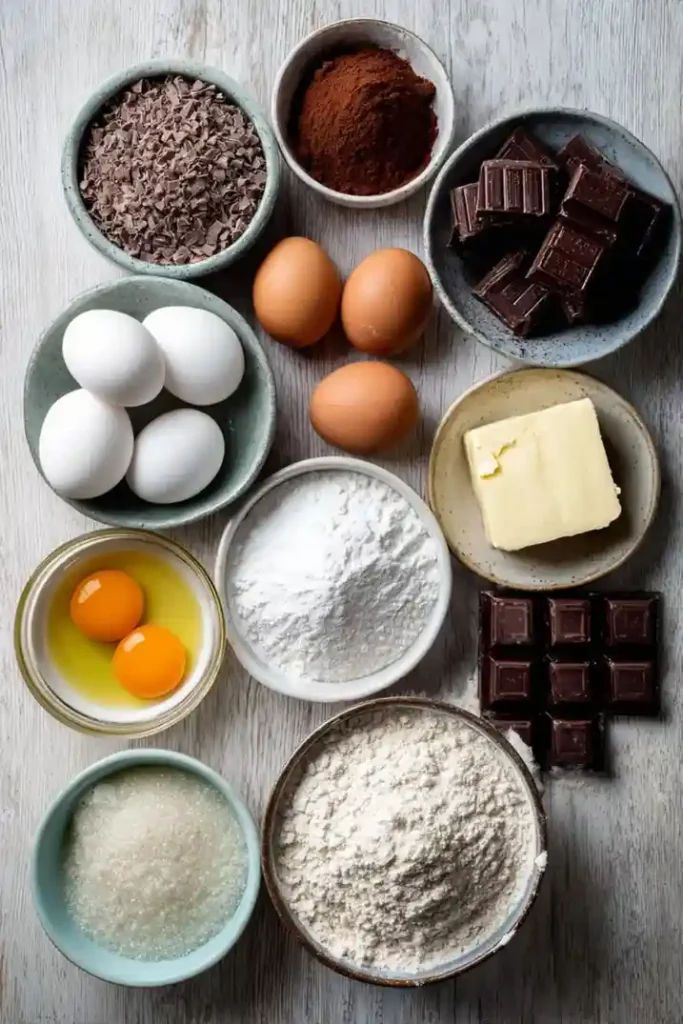
Using the right ingredients and understanding why they’re important akes all the difference. Here’s what you’ll need:
- All-purpose flour: Gives structure. Don’t pack it! Spoon it into the measuring cup and level it off.
- Unsweetened cocoa powder (Dutch-process preferred): Deep, smooth chocolate flavor. Natural cocoa works too, but Dutch-process is richer.
- Granulated sugar: Sweetens and helps keep the cake tender.
- Baking powder + baking soda: These help the cake rise. Don’t skip either!
- Salt: Balances sweetness and boosts flavor.
- Eggs: Bind everything together and add moisture.
- Buttermilk: The magic ingredient! It makes the cake extra soft and tender. No buttermilk? Mix 1 cup milk + 1 tbsp vinegar or lemon juice. Let sit 5 minutes.
- Melted dark chocolate (60–70% cacao): Adds depth and richness. Semi-sweet chocolate chips work in a pinch.
- Vegetable oil or melted butter: Oil keeps the cake moist longer. Butter adds flavor use what you prefer!
- Vanilla extract: Enhances the chocolate flavor.
Substitutions & Variations:
- Gluten-free? Use a 1:1 gluten-free flour blend.
- Dairy-free? Swap buttermilk for almond milk + vinegar, and use dairy-free chocolate.
- Lower sugar? Reduce sugar by ¼ cupn but expect a slightly less tender crumb.
Step-by-Step Instructions (With Pro Tips!)
Follow these steps carefully and avoid the top baking blunders along the way.
Why it’s bad: Overmixing develops gluten, making your cake tough or rubbery.
Fix: Mix just until ingredients are combined. A few lumps are okay!
Steps:
- Preheat oven to 350°F (175°C). Grease and line three 8-inch round cake pans with parchment paper.
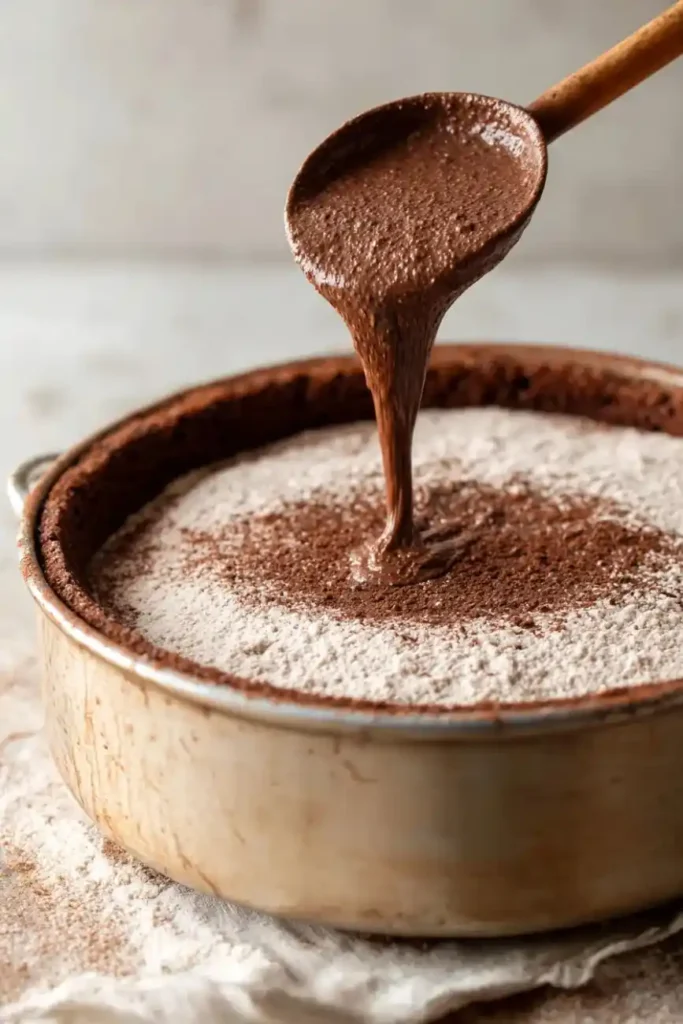
- Whisk dry ingredients: In a large bowl, sift together flour, cocoa powder, sugar, baking powder, baking soda, and salt. Sifting prevents lumps and ensures even mixing.
- Mix wet ingredients: In another bowl, whisk eggs, buttermilk, oil (or melted butter), and vanilla.
- Melt chocolate: Microwave in 20-second bursts, stirring between, until smooth. Let cool slightly.
- Combine: Pour wet ingredients into dry. Add melted chocolate. Gently fold with a spatula until just combined.
- Divide evenly: Use a kitchen scale or measuring cup to split batter equally among pans (about 2½ cups each). Uneven layers = lopsided cake!
Why it’s bad: Cake sticks, tears, or crumbles when you try to remove it.
Fix: Grease and line with parchment. Non-stick spray with flour (like Baker’s Joy) works great too.
- Bake: 30–35 minutes, or until a toothpick comes out with moist crumbs (not wet batter). Rotate pans halfway for even baking.
Why it’s bad: Sudden temperature drops can cause the cake to sink.
Fix: Resist peeking before the 25-minute mark!
- Cool: Let cakes cool in pans for 10 minutes. Then turn out onto wire racks to cool completely (at least 1 hour). Warm cake + frosting = melty disaster!
Hot Chocolate Layer Cake
Ingredients
Equipment
Method
- Preheat oven to 350°F (175°C). Grease and line three 8-inch round cake pans with parchment paper.
- In a large bowl, sift together flour, cocoa powder, sugar, baking powder, baking soda, and salt.
- In a separate bowl, whisk eggs, buttermilk, oil (or melted butter), and vanilla until well combined.
- Melt the chocolate in the microwave in 20-second bursts, stirring between until smooth. Let it cool slightly.
- Pour wet ingredients into the dry mixture. Add melted chocolate. Gently fold together just until combined.
- Divide batter evenly between pans (about 2½ cups each). Smooth tops for even layers.
- Bake 30–35 minutes, rotating halfway, until a toothpick comes out with moist crumbs.
- Cool in pans 10 minutes, then turn out onto wire racks to cool completely (at least 1 hour).
- Level cake layers with a serrated knife if needed. Place first layer on cake stand and spread ¾ cup frosting evenly.
- Repeat with second layer. Add top layer upside-down for a flat surface.
- Apply a thin crumb coat. Chill for 15 minutes.
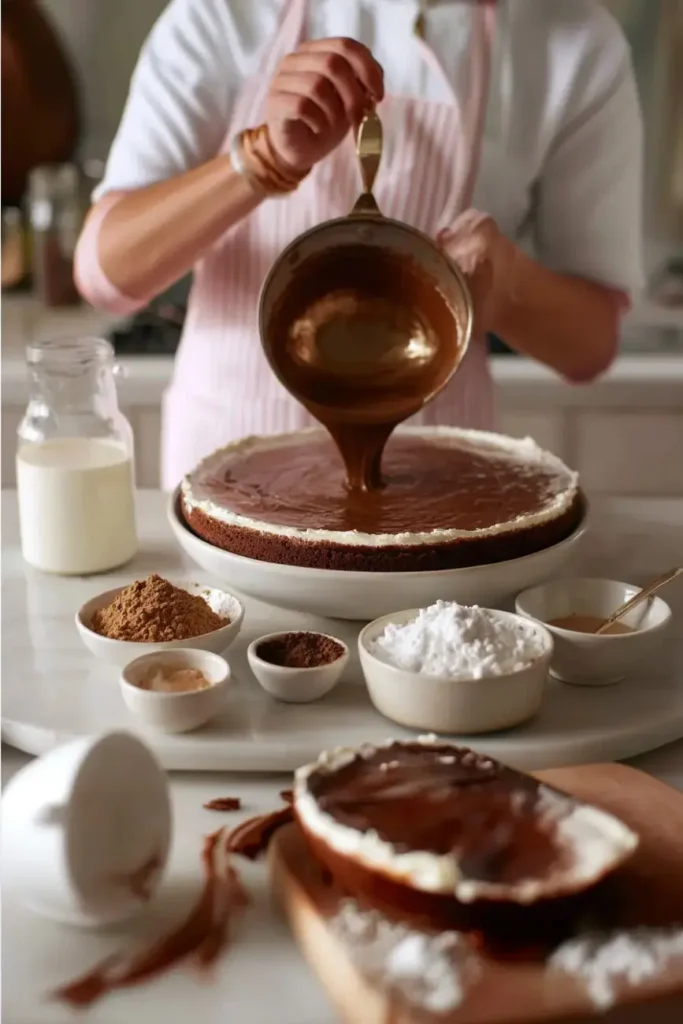
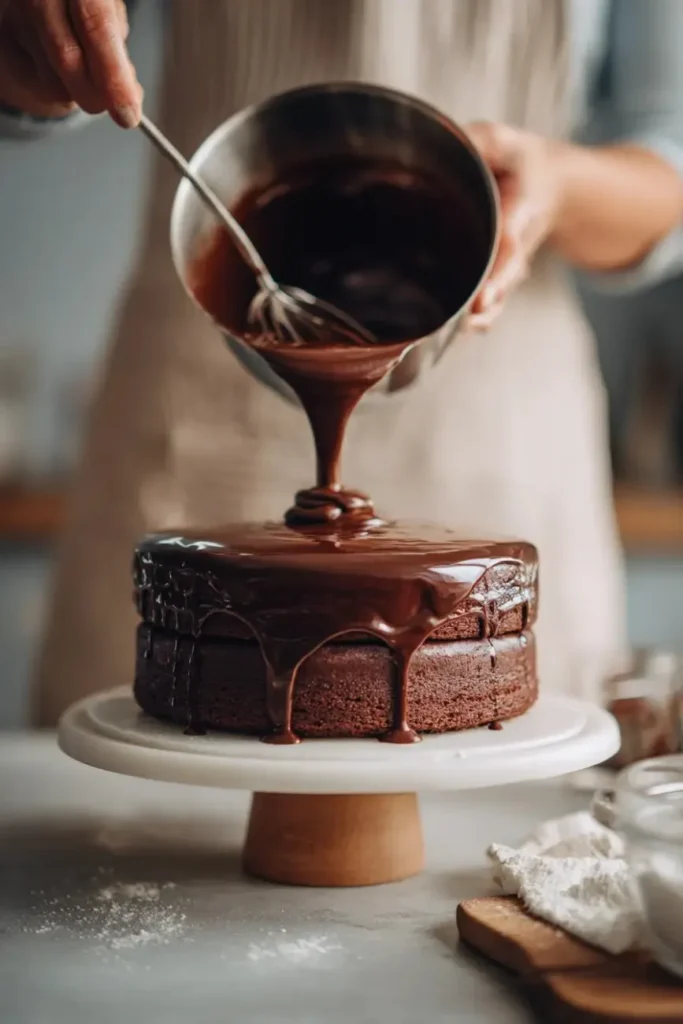
- Frost with remaining buttercream. Decorate with cocoa, marshmallows, or chocolate shavings if desired.
Nutrition
Notes
Tried this recipe?
Let us know how it was!Assembly: Building Your Dream Cake
Now for the fun part stacking and frosting!
Mistake #4: Frosting a Warm Cake
Why it’s bad: Frosting melts, slides off, and makes a mess.
Fix: Wait until cakes are completely cool.
Tools you’ll love:
- Cake turntable (optional but helpful)
- Offset spatula
- Piping bag (for fancy edges)
Frosting suggestion: Classic chocolate buttercream or marshmallow fluff frosting (hello, hot cocoa vibes!).
Assembly steps:
- Level cakes (if needed): Use a serrated knife to slice off domed tops for flat layers.
- First layer: Place on cake stand or plate. Spread ¾ cup frosting evenly.
- Second layer: Add gently. Repeat frosting.
- Top layer: Place upside-down (cut side down) for a flat top.
- Crumb coat: Spread a thin layer of frosting all over. Chill 15 minutes.
- Final coat: Apply remaining frosting. Swirl, smooth, or pipe as desired.
Mistake #5: Skipping the Crumb Coat
Why it’s bad: Loose crumbs mix into your final frosting, making it look messy.
Fix: Always do a thin crumb coat first!
Presentation tip: Top with chocolate shavings, mini marshmallows, or a dusting of cocoa powder for that “hot chocolate” feel.
Storage & Make-Ahead Tips
Good news: this cake tastes even better the next day!
- Room temperature: Store covered for up to 2 days.
- Fridge: Keep in an airtight container for up to 5 days. Bring to room temp before serving.
- Freezer: Wrap unfrosted layers in plastic + foil. Freeze up to 3 months. Thaw overnight before frosting.
Make-ahead hack: Bake layers 1–2 days ahead. Wrap tightly and store at room temp. Frost the day you serve!
Mistake #6: Storing Uncovered
Why it’s bad: Cake dries out fast.
Fix: Always cover or wrap well.
10 Mistakes to Avoid When Baking Hot Chocolate Layer Cake (Quick Recap!)
Let’s zoom in on the big ones:
- Overmixing the batter → tough cake
- Poor pan prep → stuck cake
- Peeking too early → sunken center
- Frosting warm layers → melty mess
- Skipping the crumb coat → crumbly finish
- Storing uncovered → dry cake
- Using old baking powder/soda → flat cake (check expiration dates!)
- Measuring flour wrong → dense texture (spoon & level, don’t scoop!)
- Ignoring oven temperature → uneven bake (use an oven thermometer!)
- Rushing the cooling step → broken layers
Avoid these, and you’re golden!
Recipe Variations to Try
Make this cake your own:
- Peppermint Hot Chocolate Cake: Add ½ tsp peppermint extract to batter. Top with crushed candy canes.
- Salted Caramel Version: Drizzle caramel between layers and sprinkle with flaky salt.
- Mocha Twist: Add 1 tbsp instant espresso powder to dry ingredients.
- Vegan Hot Chocolate Cake: Use flax eggs, dairy-free milk + vinegar, and vegan chocolate.
- Mini Layer Cakes: Bake in 6-inch pans for adorable personal desserts.
Don’t be afraid to play this recipe is super versatile.
Conclusion: Your Perfect Hot Chocolate Layer Cake Awaits!
Baking a showstopper Hot Chocolate Layer Cake doesn’t have to be stressful. With the right ingredients, a little patience, and awareness of common mistakes, you’ll create a dessert that’s moist, chocolatey, and utterly irresistible.
Remember: even the best bakers started somewhere. So preheat that oven, grab your mixing bowls, and give yourself permission to enjoy the process (and the delicious results!).
Go ahead bake with confidence, share with joy, and maybe sneak a bite of frosting while no one’s looking. You’ve earned it!
Love this recipe? Pin it for later and explore more seasonal magic:
- [Gingerbread Layer Cake: 10 Must-Try Toppings for 2025]
- For mor recipes cake Follow me in facebook
FAQs: Your Hot Chocolate Layer Cake Questions, Answered
Q: Can I make this cake ahead of time?
A: Absolutely! Bake and freeze layers up to 3 months ahead. Frost the day of serving.
Q: Is this cake healthier than regular chocolate cake?
A: It’s still a treat, but using dark chocolate adds antioxidants. You can also reduce sugar slightly or use whole wheat flour for extra fiber.
Q: Why did my cake sink in the middle?
A: Likely causes: underbaking, opening the oven too soon, or expired leavening agents. Always test with a toothpick!
Q: Can I use a box mix instead?
A: You can, but you’ll miss the deep hot cocoa flavor from real melted chocolate and quality cocoa. From-scratch tastes so much better!
Q: How do I keep the cake moist for days?
A: Store it covered at room temp or in the fridge. Brush cooled layers with simple syrup (equal parts sugar + water, boiled and cooled) for extra moisture.
Q: Can kids help make this cake?
A: Yes! They can whisk dry ingredients, measure liquids, or decorate the top. Baking together is half the fun.
Q: What’s the best frosting for Hot Chocolate Layer Cake?
A: Chocolate buttercream is classic, but marshmallow frosting, whipped ganache, or even a cream cheese frosting all work beautifully.