Few winter treats feel as magical as Hot Chocolate Bombs. These shiny chocolate spheres crack open the moment warm milk is poured over them, releasing cocoa mix, marshmallows, and whatever festive fillings you choose. They’re rich, fun to make, customizable for holidays and seasons, and perfect for gifting. Whether you’re preparing them as a family activity or crafting an impressive homemade present, hot chocolate bombs are the ultimate winter project.
This detailed guide walks you through every step with clarity: choosing the right chocolate, molding and sealing the spheres, filling options, decorations, packaging ideas, and long-lasting storage. If you’re ready to create a warm, cozy drink that feels like a dessert and an experience, this recipe will become a staple in your winter kitchen.
Why Hot Chocolate Bombs Are the Ultimate Winter Treat
Hot Chocolate Bombs check every box for a festive season: cozy, interactive, chocolatey, visually impressive, and endlessly customizable. Their appeal comes from three core strengths.
1. They transform an everyday drink into something special.
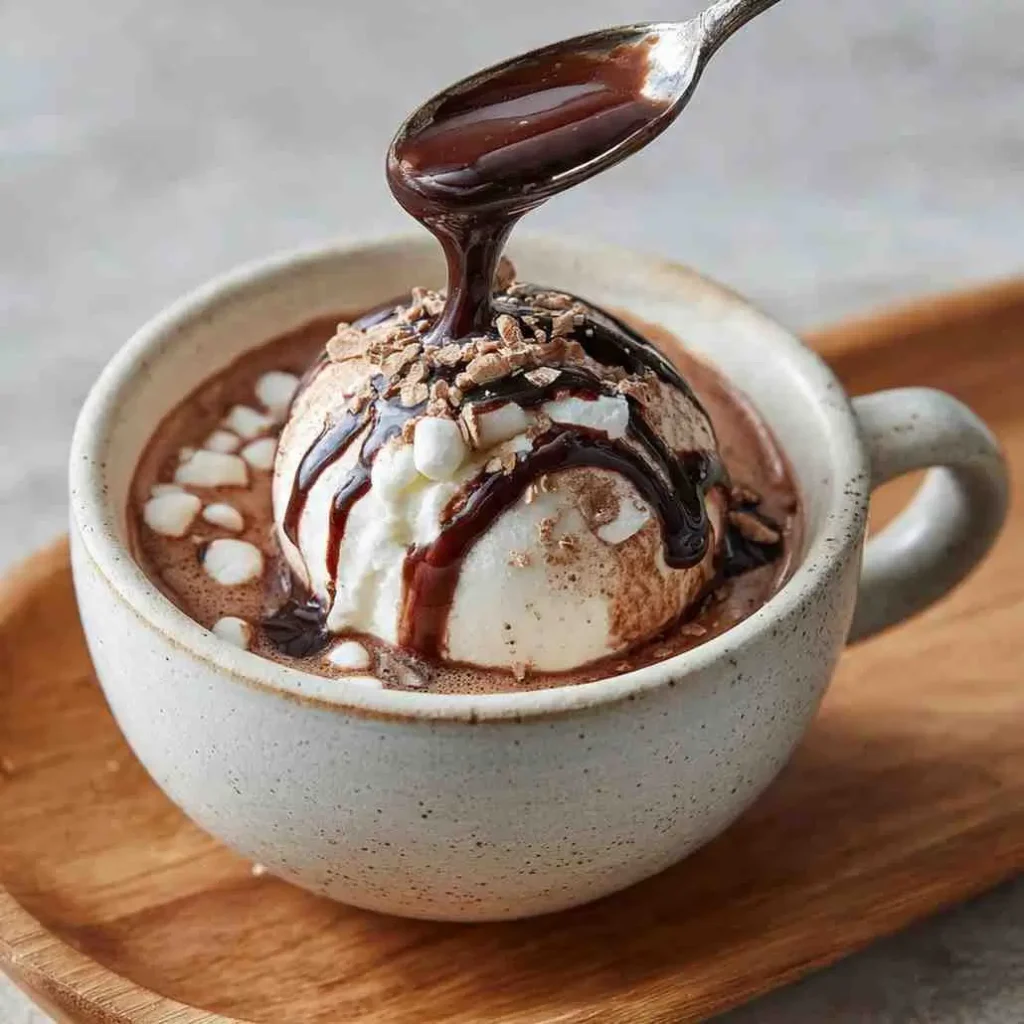
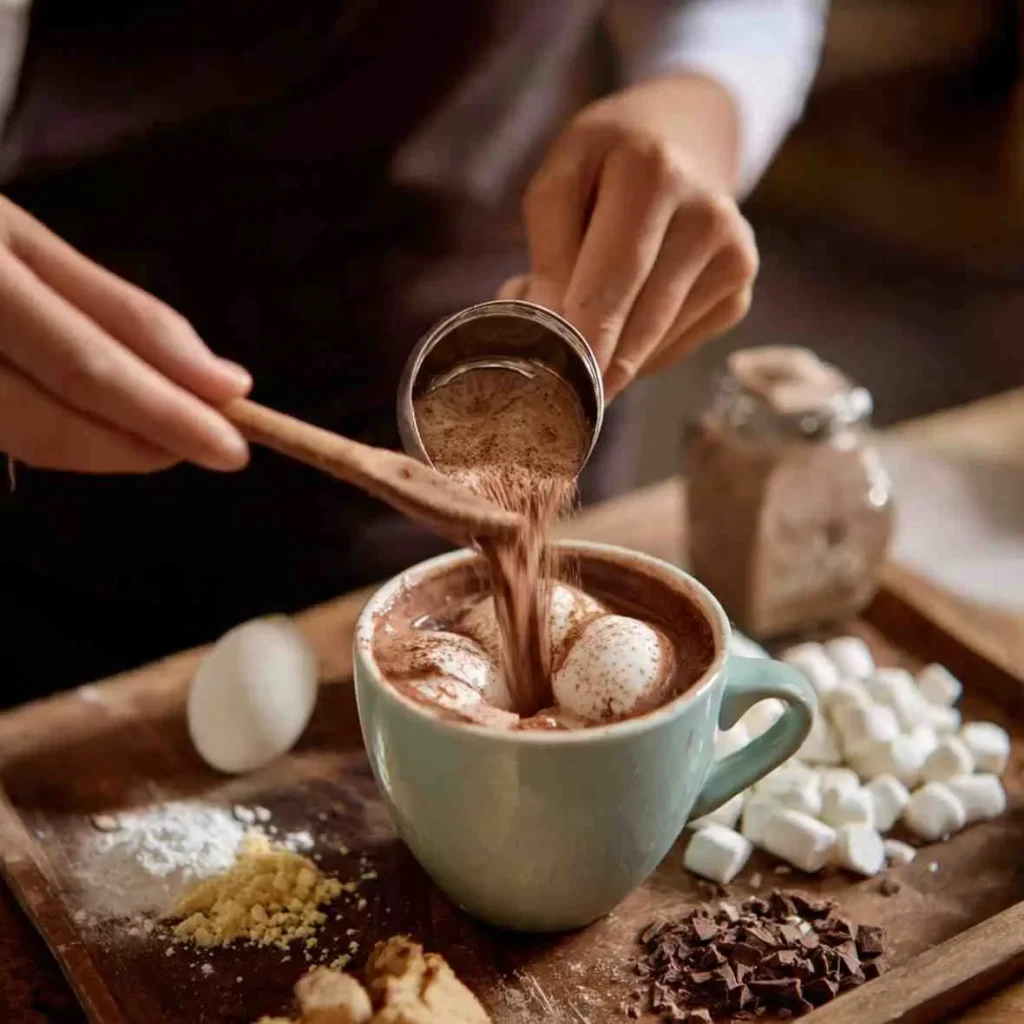
Instead of mixing cocoa powder into warm milk, hot chocolate bombs create a dramatic reveal. The chocolate sphere melts slowly, opening into a swirl of marshmallows, cocoa powder, and flavor mix-ins.
2. They make elegant edible gifts.
Placed inside small holiday boxes or clear bags with ribbon, hot chocolate bombs become thoughtful and charming winter gifts. They work beautifully for:
- Teacher gifts
- Party favors
- Christmas baskets
- New Year’s celebrations
- Winter birthdays
3. They’re extremely adaptable.
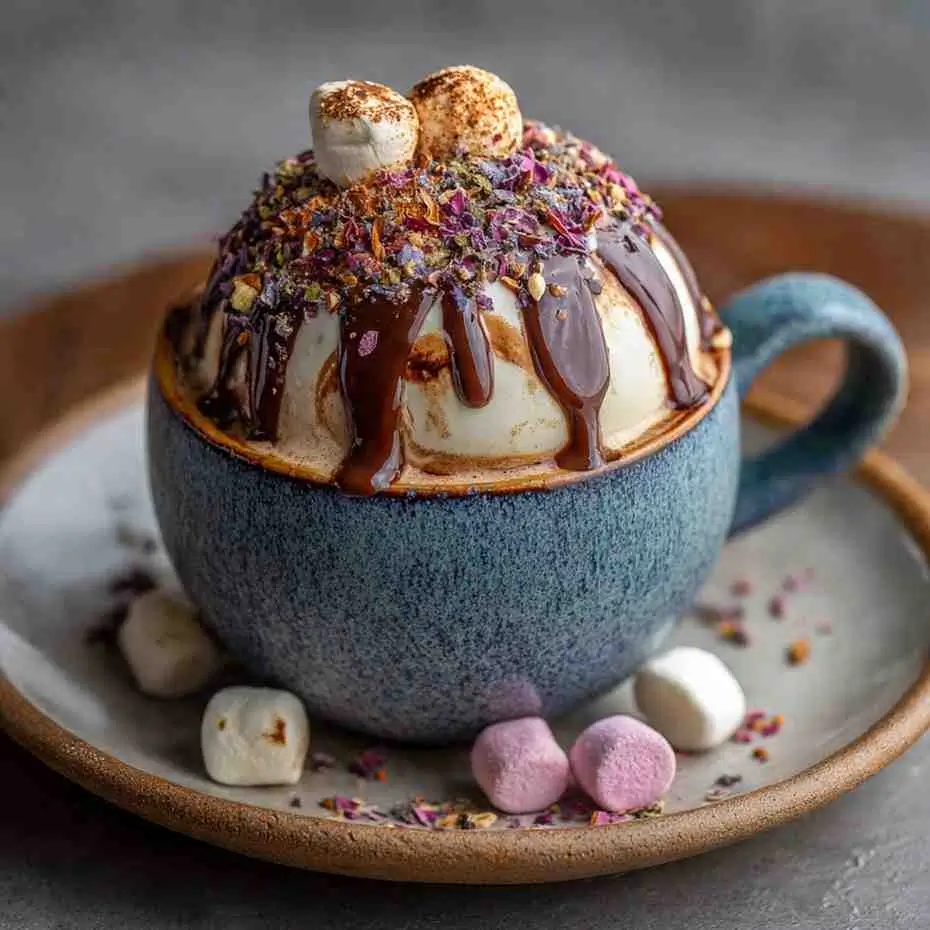
You can design classic chocolate bombs, peppermint bombs, caramel bombs, mocha bombs, white chocolate bombs, or even themed bombs for holidays. You can also decorate them with drizzles, sprinkles, crushed candy canes, edible glitter, or colored cocoa butter.
Their festive nature and versatility make them perfect for winter gatherings, cozy nights by the fireplace, or adding to dessert boards.
Essential Ingredients for Hot Chocolate Bombs
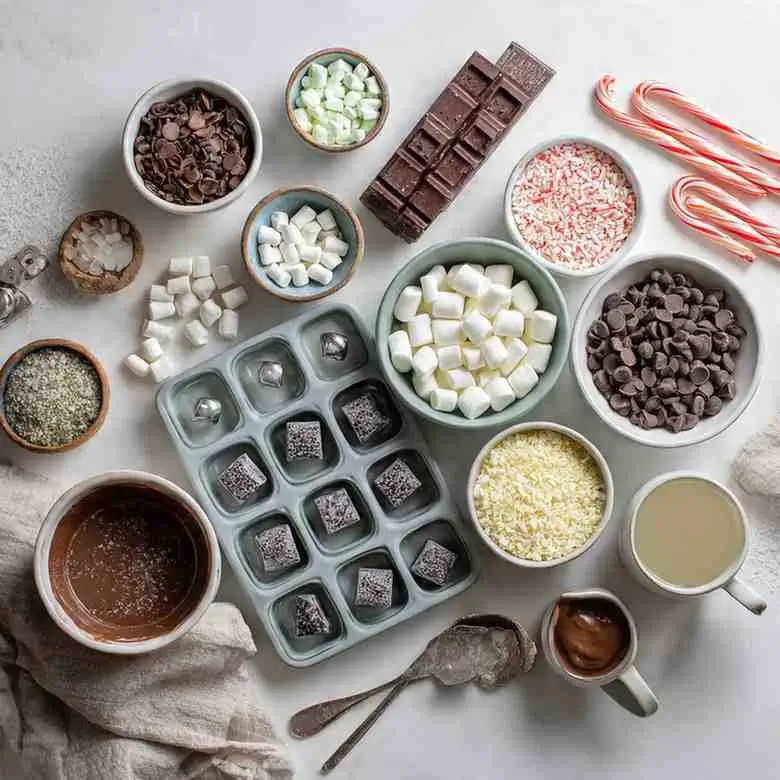
Because hot chocolate bombs are essentially made of chocolate spheres, every ingredient matters for taste, texture, and melt quality. Below is a breakdown of each component and why it’s essential.
Chocolate (high-quality, real chocolate)
Choose either dark, milk, or white chocolate. Real chocolate melts and sets properly, creating strong shells that hold their shape.
Best types:
- Baking chocolate
- Chocolate bars
- Couverture chocolate
- High-quality chocolate chips
Avoid candy melts unless absolutely necessary they lack flavor and snap.
Hot cocoa mix
A simple hot cocoa mix works beautifully. You can use store-bought or homemade.
Homemade cocoa mix idea:
- Cocoa powder
- Powdered sugar
- Pinch of salt
- Optional: powdered milk
Mini marshmallows
These provide texture, sweetness, and the classic hot chocolate experience.
Dehydrated marshmallows melt and float beautifully.
Optional fillings
These give your hot chocolate bombs a signature flavor:
- Crushed peppermint
- Toffee bits
- Instant espresso
- Cinnamon
- Nutmeg
- Pumpkin spice
- Salted caramel pieces
- Freeze-dried raspberries
- Chocolate shavings
- Crushed cookies
Decorations
Decorating is optional but elevates presentation.
Try:
- Chocolate drizzle
- Holiday sprinkles
- Edible glitter
- Cocoa butter splatter
- Crushed candy cane
- Gold dust
- White chocolate stripes
Step-by-Step Guide to Making Hot Chocolate Bombs
Follow this method carefully for smooth, shiny chocolate spheres that melt beautifully.
1. Melt the chocolate
There are two safe ways to melt chocolate: the microwave or the double boiler.
Microwave method:
- Place chocolate in a microwave-safe bowl.
- Heat in 20-second intervals.
- Stir between each interval.
- Stop when chocolate is fully melted and smooth.
Double boiler method:
- Simmer water in a saucepan.
- Place a heat-safe bowl on top (not touching the water).
- Melt the chocolate slowly, stirring until smooth.
The goal is to avoid overheating, which makes chocolate seize or turn grainy.
2. Coat the silicone molds
Use round silicone sphere molds specifically designed for making chocolate bombs.
- Spoon about 1 tablespoon of melted chocolate into each cavity.
- Use the back of a spoon or pastry brush to spread chocolate evenly around the sides.
- Refrigerate for 5–10 minutes until set.
- Add a second coating for a sturdier shell.
- Chill again until firm.
Double coating prevents cracking and ensures the bombs hold up when sealed.
3. Remove the chocolate shells
Once chilled, gently pop the shells out of the silicone molds. Work slowly to maintain their shape.
Tips:
- Use gloves to avoid fingerprints.
- Place shells on a cold tray lined with parchment paper.
- Handle the edges only.
Hot Chocolate Bombs
Ingredients
Equipment
Method
- Melt chocolate using microwave in 20-second intervals or in a double boiler. Stir until smooth and fully melted.
- Spread melted chocolate inside silicone molds using a spoon or brush. Chill for 5–10 minutes. Repeat for second coat and chill again.
- Carefully pop chocolate shells from molds. Use gloves and handle edges only to avoid fingerprints or breakage.
- Add 1–2 tsp cocoa mix, 1 tbsp mini marshmallows, and optional flavorings into one half of each sphere.
- Use a warm plate or melted chocolate to seal halves together. Gently press to close, smoothing the seam.
- Drizzle with melted chocolate and decorate with festive toppings like sprinkles or glitter. Let set before packaging.
Nutrition
Notes
Tried this recipe?
Let us know how it was!4. Fill each half
Add:
- 1–2 teaspoons cocoa mix
- 1 tablespoon mini marshmallows
- Optional fillings
- A tiny sprinkle of flavor (like cinnamon or peppermint)
Don’t overfill, or you won’t be able to seal the spheres.
5. Seal the chocolate spheres
There are two effective sealing methods:
Method 1: Warm plate technique
- Warm a plate in the microwave for 30 seconds.
- Press an empty half-sphere onto the warm plate to slightly melt the rim.
- Quickly place it on top of the filled half to seal.
- Hold gently for a few seconds.
Method 2: Melted chocolate piping
- Pipe a line of melted chocolate around the rim.
- Attach the other shell half.
- Smooth the seam with a fingertip or small spatula.
Either method ensures a finished, evenly sealed chocolate bomb.
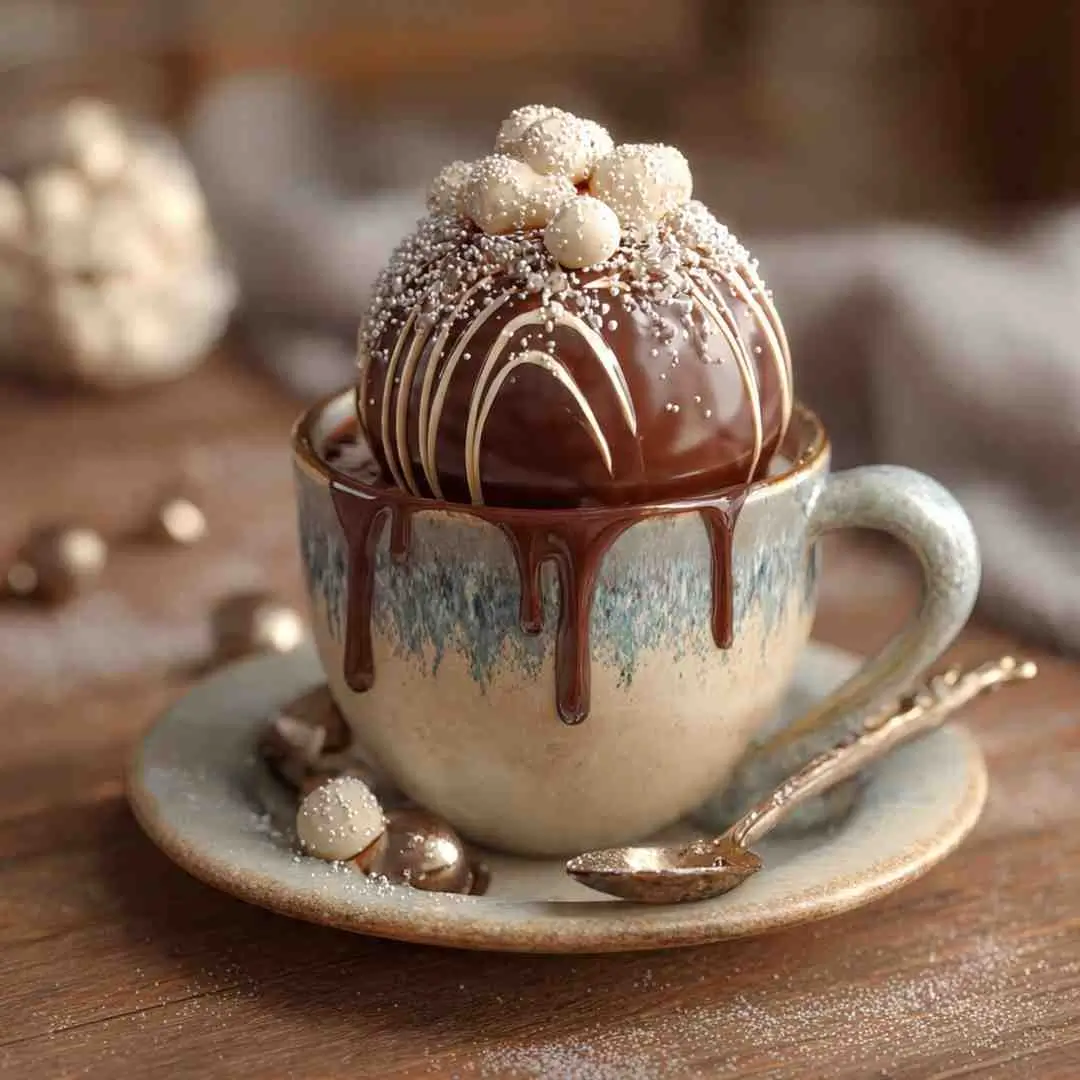
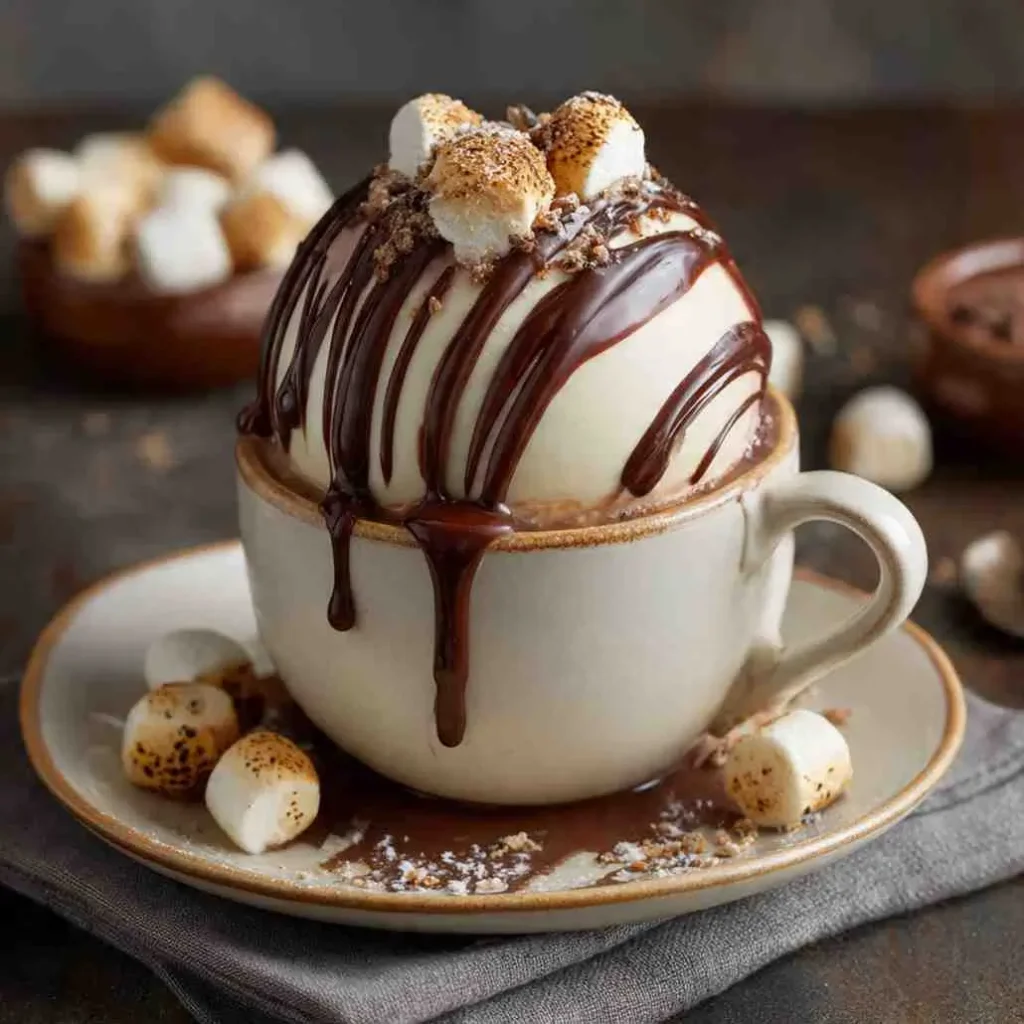
6. Decorate the hot chocolate bombs
Use a piping bag or spoon to drizzle melted chocolate over the top.
Add festive toppings before the drizzle sets:
- Peppermint pieces
- Colored sugar
- Edible glitter
- Crushed graham crackers
- Caramel drizzle
- Holiday sprinkles
- Gold flakes
Let the decorations harden completely before packaging.
Decorating Ideas for Hot Chocolate Bombs
This is where creativity shines. Here are decoration themes:
Classic Chocolate Swirl
Dark chocolate sphere with white chocolate drizzle.
Peppermint Winter Bombs
White chocolate with crushed candy cane around the top.
Salted Caramel Bombs
Milk chocolate drizzled with caramel and coarse sea salt.
Mocha Bombs
Dark chocolate with espresso powder dusted lightly on top.
Holiday Snowflake Bombs
White chocolate sphere decorated with edible glitter and tiny snowflakes.
Valentine’s Day Bombs
Pink chocolate drizzle and heart sprinkles.
These personalize the bombs and make them visually striking.
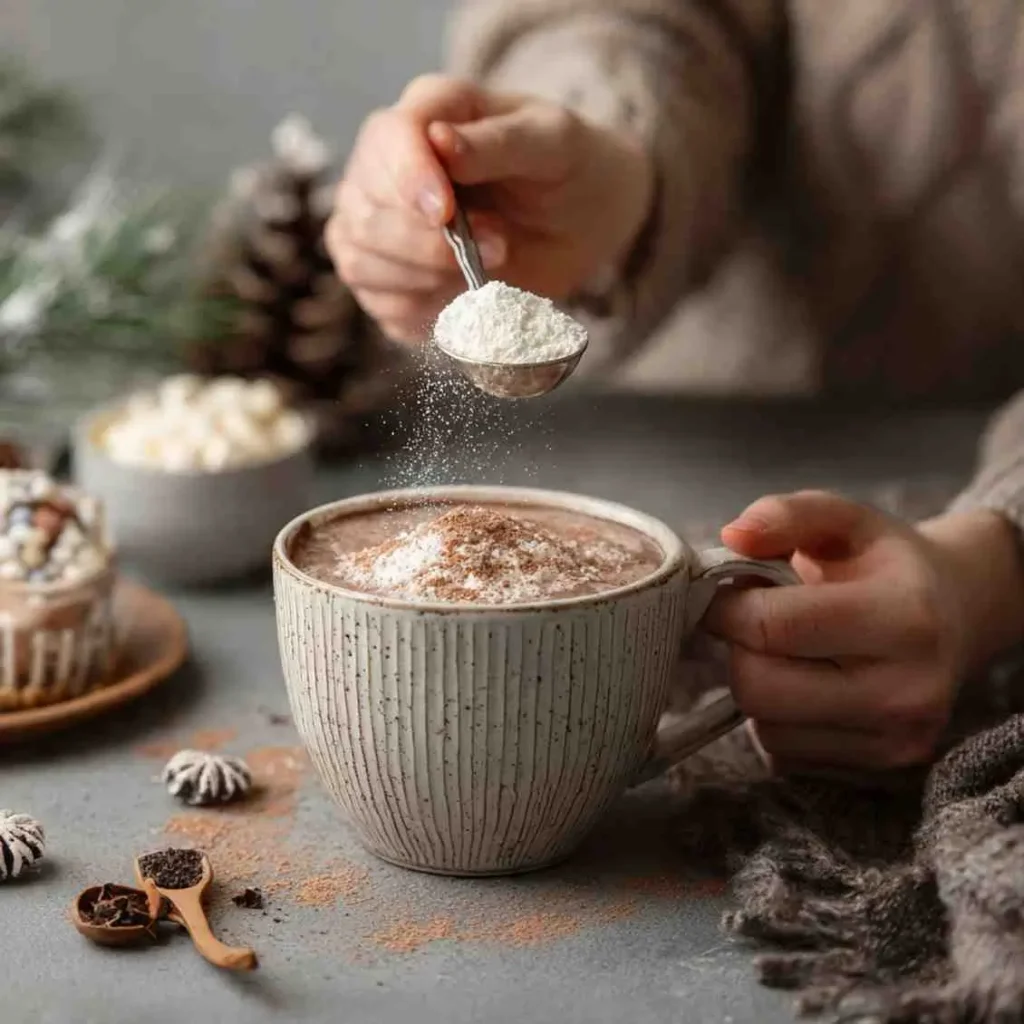
Serving & Pairing Ideas
Part of the magic of hot chocolate bombs is how they’re served.
How to use a hot chocolate bomb
- Place a bomb in a large mug.
- Heat milk until steaming hot.
- Pour milk directly over the chocolate bomb.
- Watch the shell crack open and release cocoa mix.
- Stir to combine.
Best pairings
Serve with:
- Whipped cream
- Freshly shaved chocolate
- Biscotti
- Chocolate chip cookies
- Gingerbread cookies
- A dusting of cinnamon
- Caramel drizzle
- A candy cane stir stick
Pair with winter breakfasts, holiday brunch boards, or cozy movie-night treats.
Packaging Ideas for Hot Chocolate Bomb Gifts
Hot chocolate bombs are ideal for gifting. Use packaging that matches the season or theme.
Gift packaging options
- Clear cellophane bags with ribbon
- Kraft bakery boxes with windows
- Clear acrylic ornament boxes
- Small tin containers
- Holiday-themed treat boxes
- Mason jars with a ribbon tie
Add a simple instruction card
Include a card that says:
“Place bomb in a mug. Pour 1–1½ cups hot milk over top. Stir and enjoy.”
This makes the gift useful and beautiful.
Storage Tips for Hot Chocolate Bombs
Proper storage extends freshness and prevents melting.
Room temperature
Store in an airtight container at 65–70°F.
Keeps well for: 2 weeks
Refrigeration
Only refrigerate if your kitchen is warm.
Keeps well for: up to 3 weeks
Note: Refrigeration can cause sweating.
Freezing
You can freeze sealed bombs.
Wrap in plastic wrap + airtight container.
Keeps well for: 2 months
Let thaw at room temperature before using.
FAQs About Hot Chocolate Bombs
1. Why are my chocolate shells cracking?
Usually the chocolate layer is too thin. Add a second coating for stronger walls.
2. My bombs won’t seal. What did I do wrong?
Either the rims are too cold or uneven. Use the warm plate method for a smoother seal.
3. What chocolate melts the best?
Couverture chocolate or high-quality chocolate bars give the best shine and snap.
4. How do I prevent fingerprints on the bombs?
Wear food-safe gloves and handle the edges only.
5. Can I make these dairy-free?
Yes. Use dairy-free chocolate and a dairy-free cocoa mix, then serve with almond or oat milk.
6. How much milk should I pour over a hot chocolate bomb?
Use 1 to 1½ cups of very hot milk for the best melt and flavor.
Conclusion
Hot Chocolate Bombs combine creativity, flavor, and a bit of winter magic making them one of the season’s most beloved treats. Their melt-away effect turns a simple cup of hot chocolate into an impressive moment, whether you’re enjoying them at home or gifting them to others. With the right chocolate, reliable molds, festive fillings, and a touch of decoration, you can craft café-quality bombs right in your kitchen.
When you’re ready for more winter baking ideas, check out:
[Cozy Gingerbread Snack Cake Recipe]
[Soft Brown Sugar Cinnamon Rolls]
For more recipe follow in Facebook