Introduction
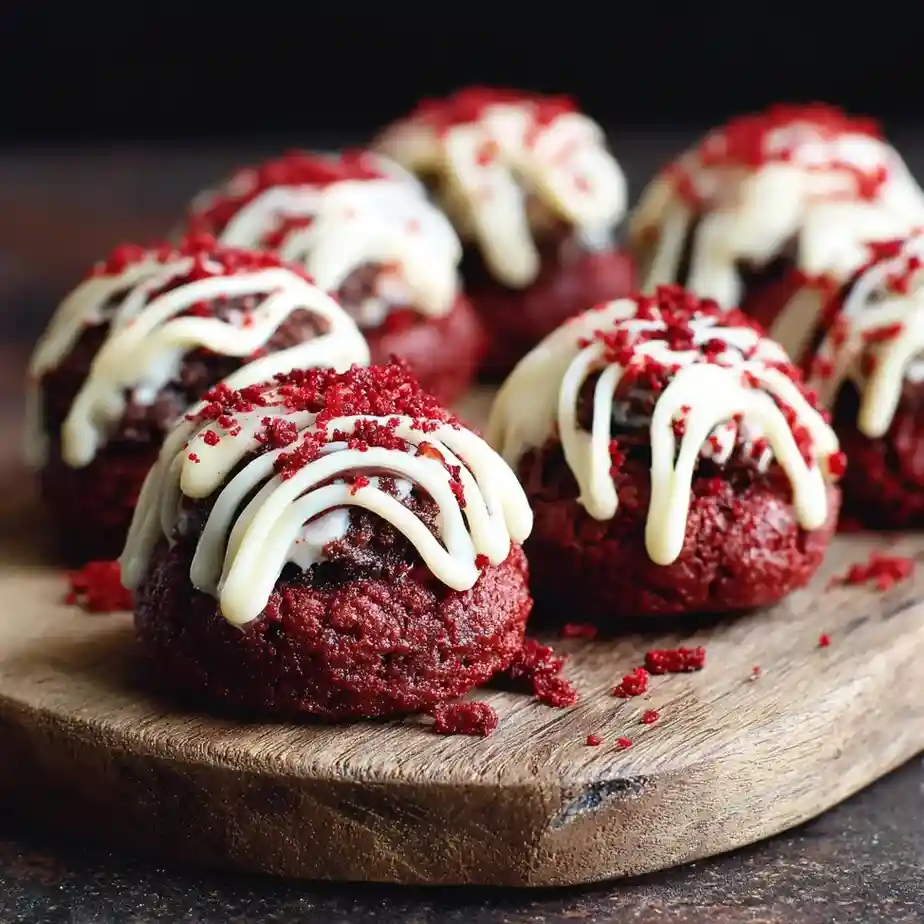
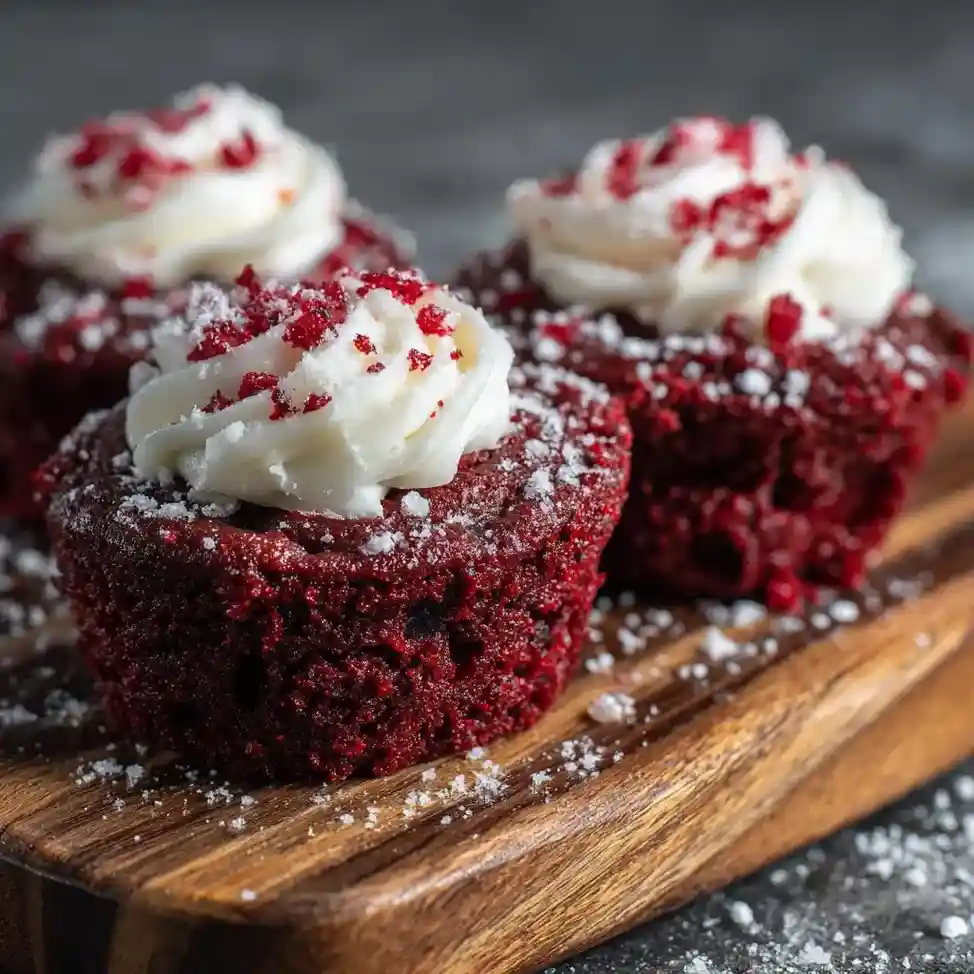
If you’re craving a dessert that’s both indulgent and festive, look no further than Red Velvet Brownie Bites. These bite-sized treats combine the rich fudginess of brownies with the classic red velvet flavor that everyone loves. Perfect for holidays, parties, Valentine’s Day, or simply a cozy night in, they’re easy to bake and even easier to enjoy. Whether you’re a beginner baker or a seasoned pro, this guide will walk you step-by-step through making the ultimate red velvet brownie bites from scratch (or even from a box mix!).
Why Red Velvet Brownie Bites Are the Ultimate Fall Dessert
Red velvet desserts have a charm that feels cozy and celebratory all at once. Their vibrant color makes them stand out on any dessert table, while the flavor—mild cocoa with a hint of tang is warm and satisfying. Here’s why they’re a must-bake treat:
- Seasonal vibes: The deep red hue pairs beautifully with autumn and winter gatherings.
- Perfect portion size: Bite-sized means no cutting or messy servings.
- Crowd pleaser: Kids and adults both love the fun presentation and rich taste.
- Versatile: Dress them up with cream cheese drizzle, sprinkles, or even a cheesecake swirl.
Think of them as the ultimate cross between a brownie, cake, and truffle all in one little bite.
Essential Ingredients
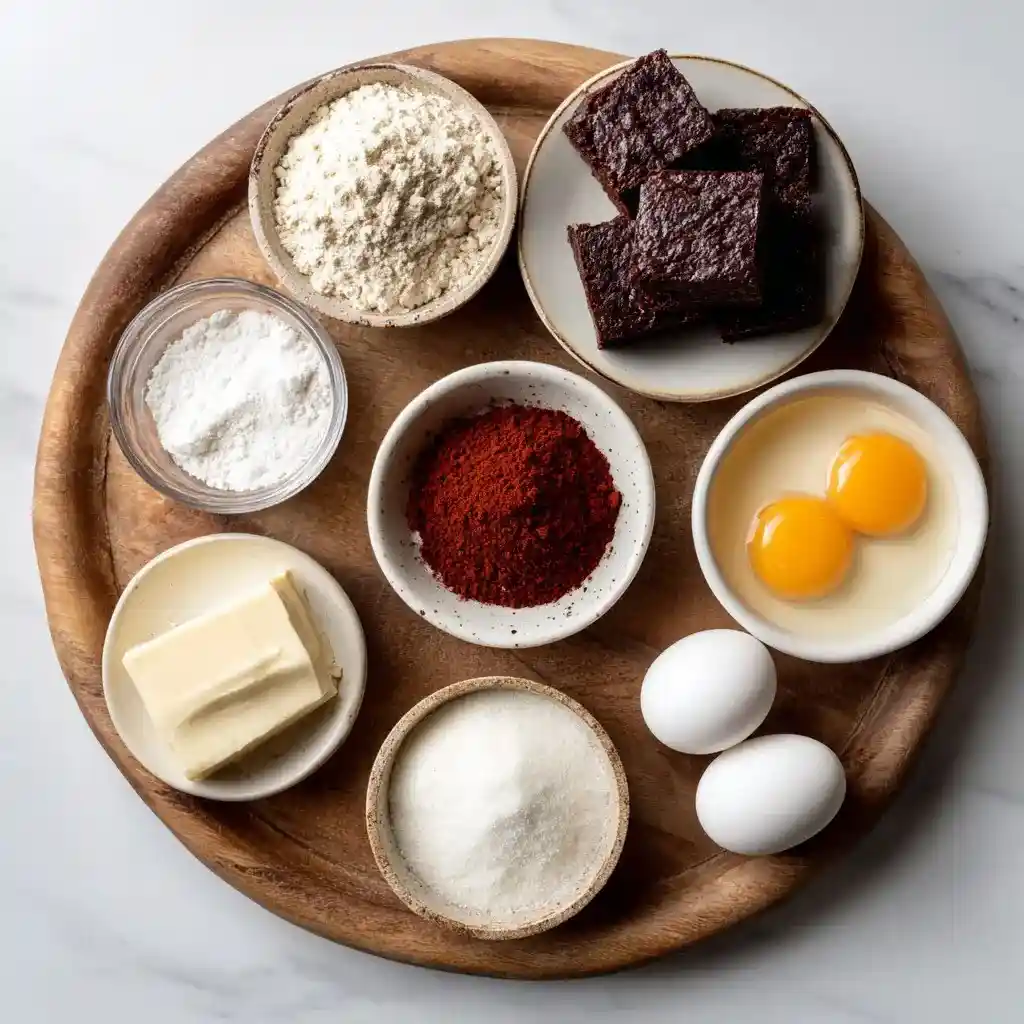
To create moist, fudgy, and flavorful red velvet brownie bites, gather these essentials:
- Flour – Provides structure.
- Unsweetened Cocoa Powder – Just a touch for that subtle cocoa flavor.
- Granulated Sugar – Sweetens and helps with texture.
- Eggs – Add richness and binding.
- Butter – For fudgy brownies, always melt your butter.
- Vanilla Extract – Rounds out the flavor.
- Red Food Coloring – Gives that iconic red velvet look.
- White Vinegar or Buttermilk – The secret tang that defines red velvet.
- Cream Cheese – For drizzle, frosting, or swirls.
Step-by-Step Baking Guide
Step 1: Prep Your Pan
Line a mini muffin pan with parchment or grease generously. This helps the bites pop out easily after baking.
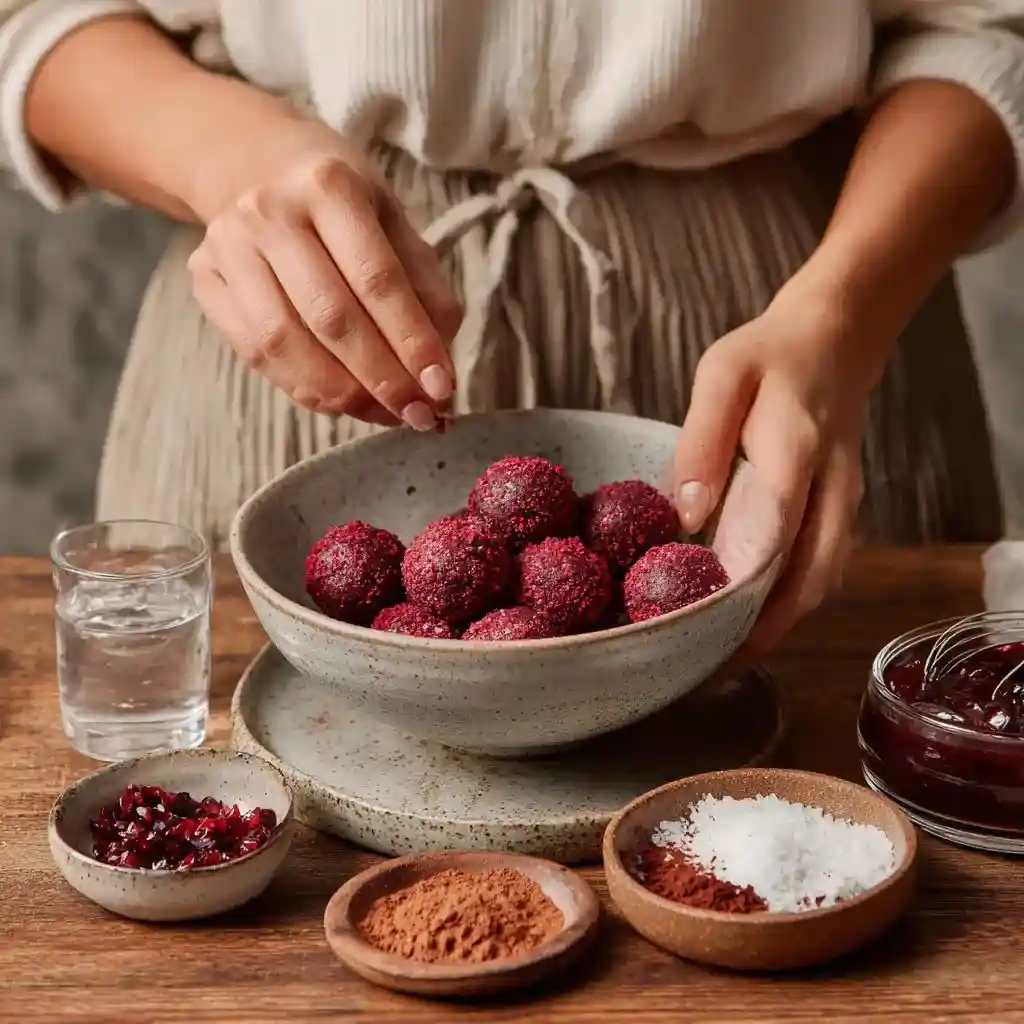
Step 2: Mix the Wet Ingredients
Melt butter, then whisk in sugar, eggs, vanilla, vinegar, and red food coloring until smooth.
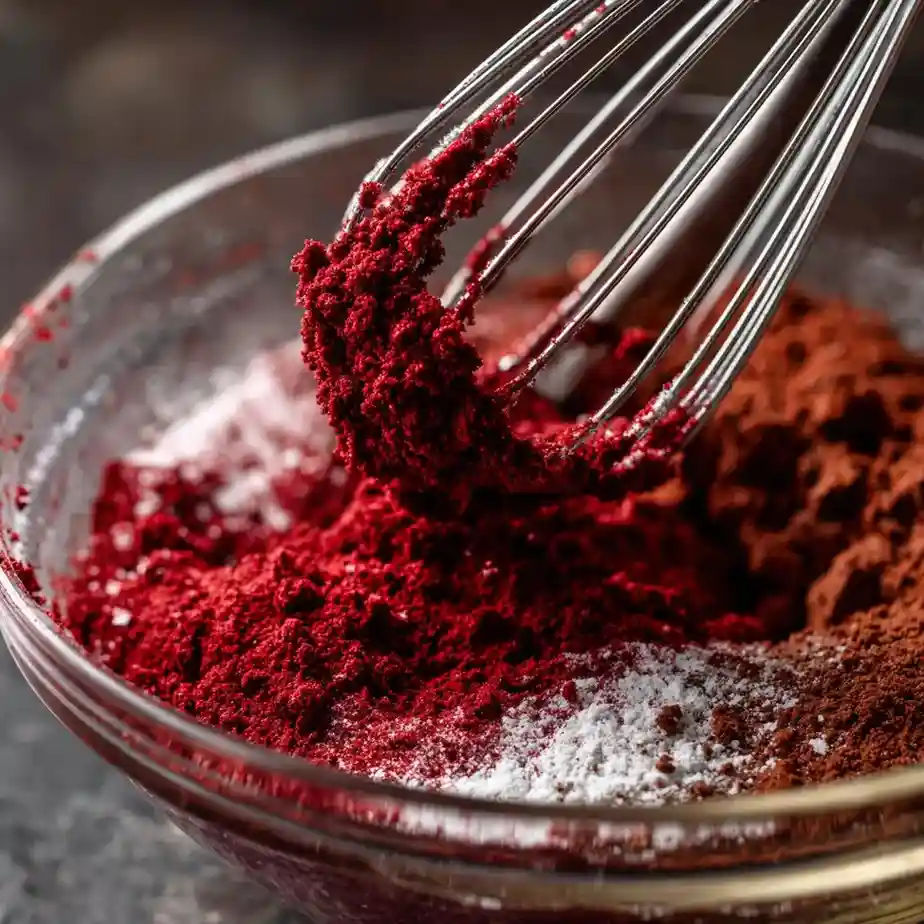
Step 3: Add the Dry Ingredients
Sift together flour, cocoa powder, and a pinch of salt. Gently fold into the wet mixture to avoid overmixing.
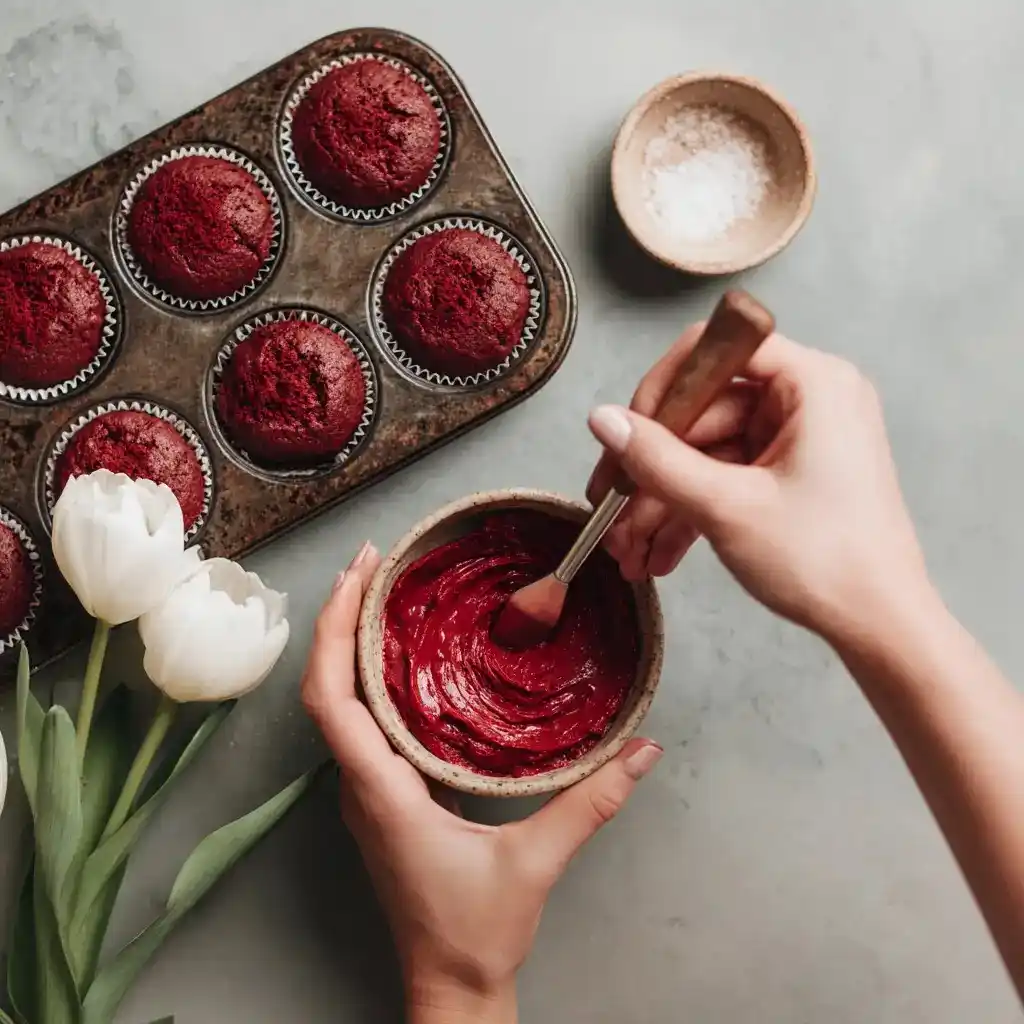
Step 4: Bake the Brownie Bites
Scoop batter into each muffin cavity fill ¾ of the way. Bake at 350°F (175°C) for 12–15 minutes, or until edges are set and a toothpick comes out with just a few moist crumbs.
Step 5: Cool and Decorate
Let cool in the pan for 5 minutes, then transfer to a wire rack. This prevents soggy bottoms and helps maintain their fudgy texture.
Red Velvet Brownie Bites
Ingredients
Equipment
Method
- Line a mini muffin pan with parchment or grease generously to prevent sticking.
- Melt the butter, then whisk in sugar, eggs, vanilla, vinegar, and red food coloring until fully combined.
- Sift together flour, cocoa powder, and salt. Gently fold into the wet mixture until just combined.
- Scoop batter into muffin pan cavities, filling about ¾ full. Bake at 350°F (175°C) for 12–15 minutes, until a toothpick comes out with moist crumbs.
- Cool in the pan for 5 minutes, then transfer to a wire rack to finish cooling.
- Drizzle with cream cheese glaze or decorate with sprinkles, ganache, or crushed cookies if desired.
Nutrition
Notes
Tried this recipe?
Let us know how it was!Decorating Red Velvet Brownie Bites
This is where you can get creative! Here are some fun ideas:
- Classic Cream Cheese Drizzle – Mix cream cheese, powdered sugar, and a splash of milk for an easy glaze.
- Cheesecake Swirl – Drop spoonfuls of cream cheese mixture into batter before baking, then swirl with a toothpick.
- Festive Sprinkles – Perfect for birthdays or holidays.
- Chocolate Ganache – A glossy finish that adds decadence.
- Crushed Oreos – For a red velvet Oreo brownie bite twist.
Serving & Pairing Ideas
Red velvet brownie bites are versatile and can be served in many delicious ways:
- With Coffee or Espresso – Their richness pairs beautifully with bold coffee.
- Alongside Hot Apple Cider – Cozy fall pairing.
- Topped with Whipped Cream – Light and fluffy contrast.
- With Fresh Berries – Strawberries or raspberries balance the sweetness.
- On Dessert Boards – Mix with cookies, truffles, and fudge for a festive spread.
Storage Tips
To keep your brownie bites moist and fresh:
- Store in an airtight container at room temperature for 2–3 days.
- Refrigerate for up to 1 week if topped with cream cheese frosting.
- Freeze unfrosted bites for up to 2 months. Simply thaw at room temp before serving.
Pro tip: Place parchment paper between layers to prevent sticking.
FAQ: Red Velvet Brownie Bites
Q1: Can I make red velvet brownie bites ahead of time?
Yes! Bake them a day in advance, store in an airtight container, and add glaze or drizzle before serving.
Q2: Can I use a box cake mix?
Absolutely choose a red velvet cake mix, but reduce liquid and add extra butter and eggs for a fudgier brownie texture.
Q3: How do I prevent dry brownie bites?
Do not overbake! Pull them out when a toothpick shows moist crumbs, not a clean stick.
Q4: What can I use instead of food coloring?
Beet powder or natural red coloring can give a similar effect, though the shade may vary.
Q5: Can I make these gluten-free?
Yes! Substitute a 1:1 gluten-free baking flour blend.
Q6: Can I double the recipe?
Yes, just bake in batches or use a larger muffin tin for slightly bigger bites.
Conclusion
Red Velvet Brownie Bites are the perfect blend of rich, fudgy, and festive. Whether you make them from scratch or take a shortcut with a box mix, they’re guaranteed to impress at any gathering. With endless decoration ideas and easy storage options, this dessert will quickly become a favorite in your recipe rotation.
So grab your whisk, preheat that oven, and get ready to bake a treat that’s equal parts cozy and indulgent. Don’t forget to experiment with different toppings and pairings to make them uniquely yours!